
The complete guide
How To Pick And Fit A Downspout Catch Basin Kit
The puddle that will not go away
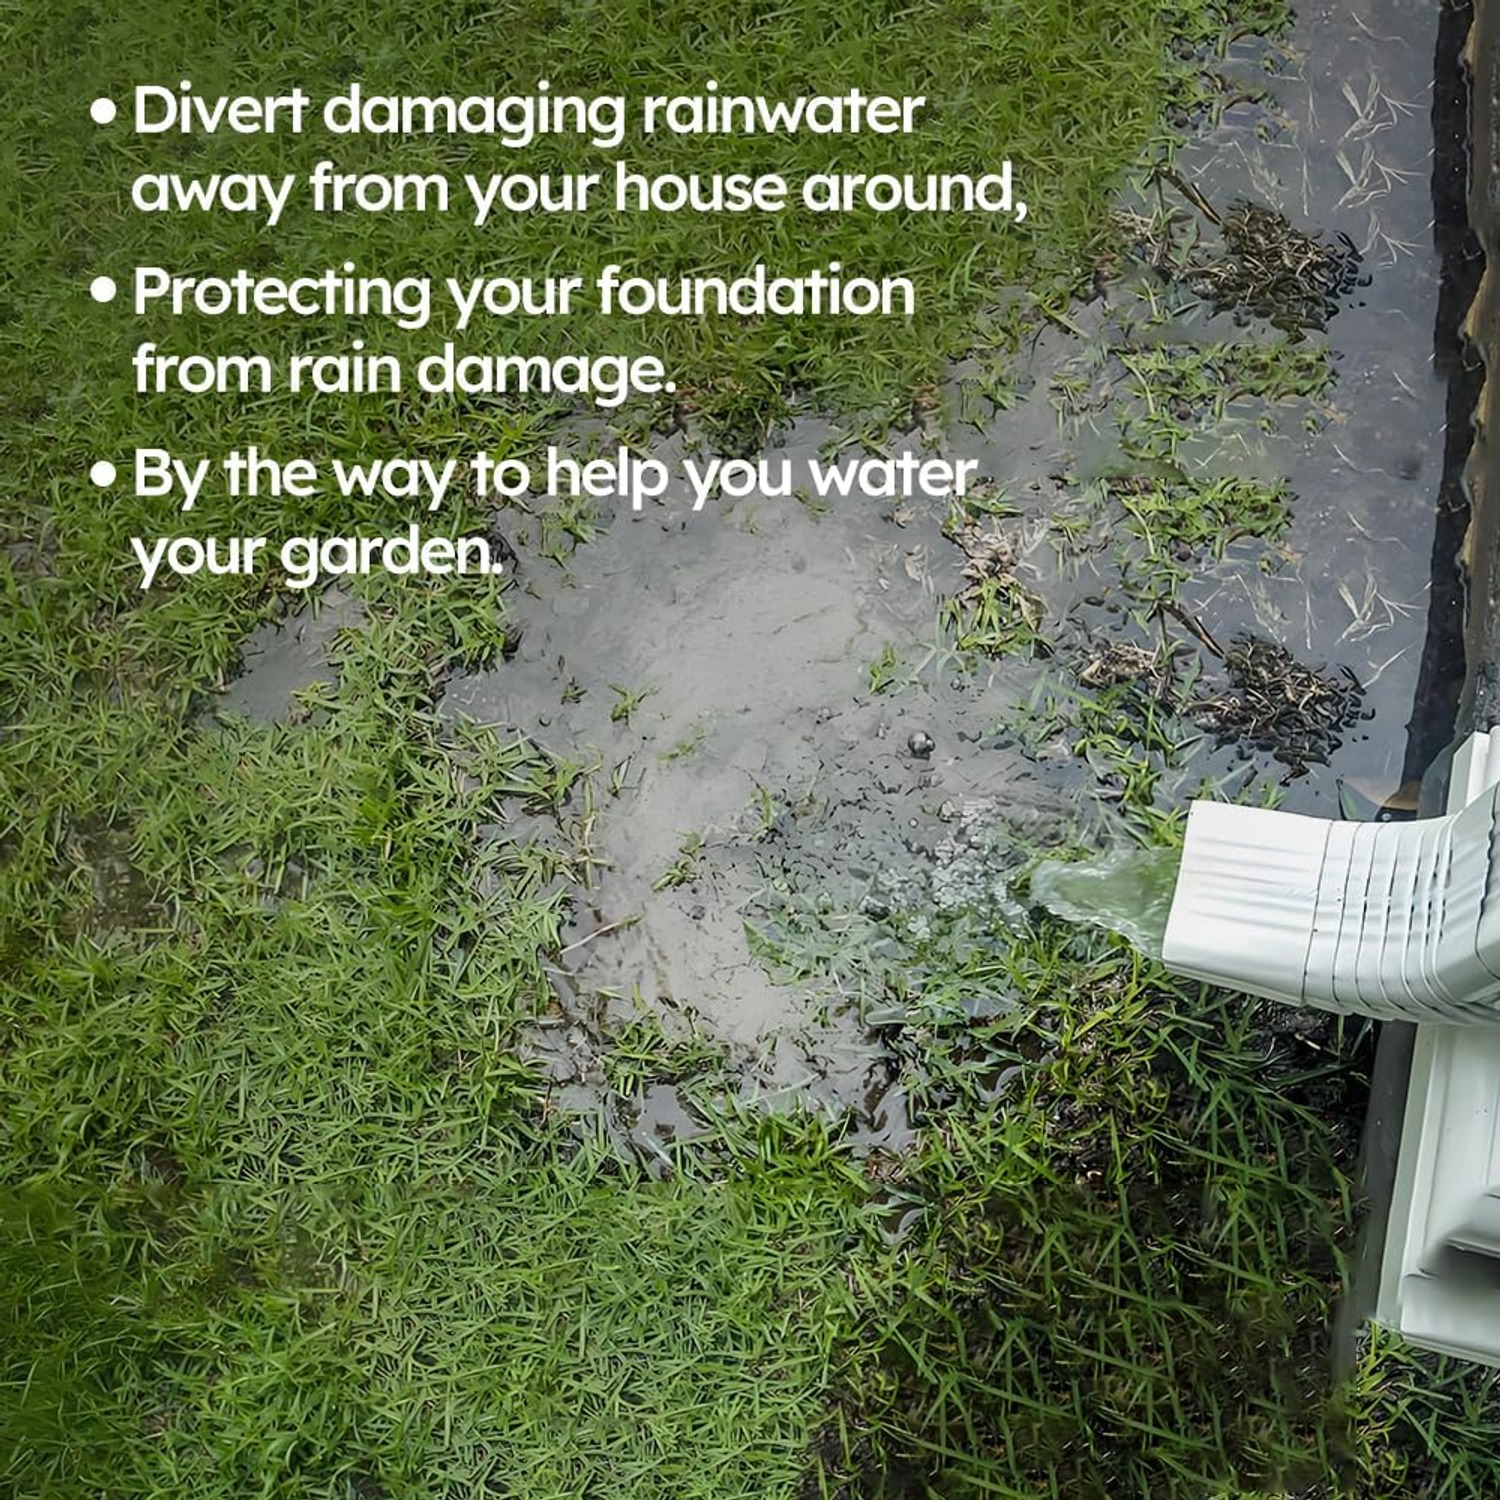
Most drainage problems start small. One corner of the yard stays wet longer than the rest. The grass thins out. Then you notice the soil has sunk a little right where the downspout empties, and after heavy rain there is a shallow pool sitting against the wall.
That pool is the problem. Water that sits beside a house soaks down and softens the ground your foundation rests on. Over years, that movement shows up as cracks, damp patches inside, or a door that suddenly sticks in winter. None of it happens overnight, which is exactly why people put off dealing with it.
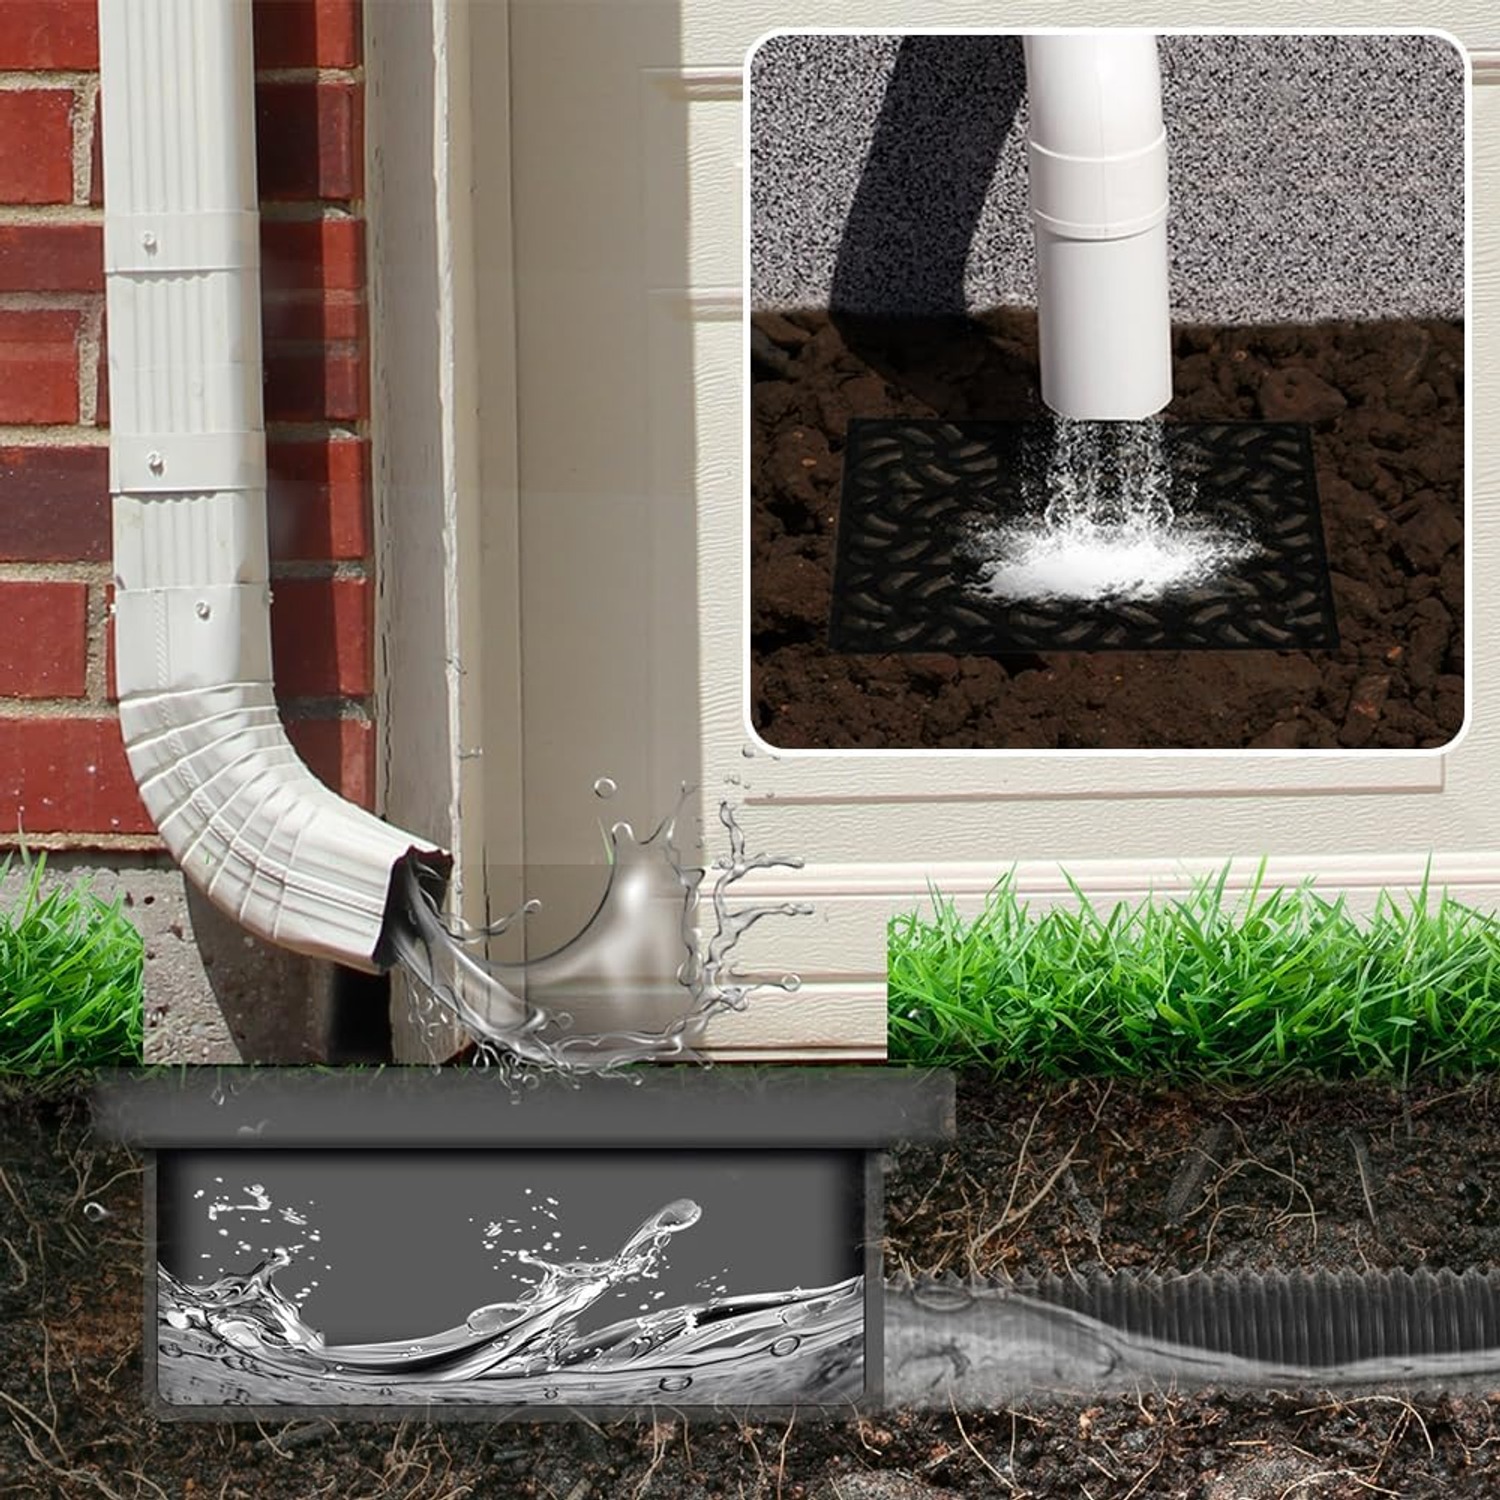
A downspout catch basin kit is the straightforward fix. It catches the water at the point it leaves the gutter and pipes it somewhere that can handle it. No pumps, no power, no complicated plumbing. Gravity does the whole job.
How the kit works
There are three parts doing the real work.
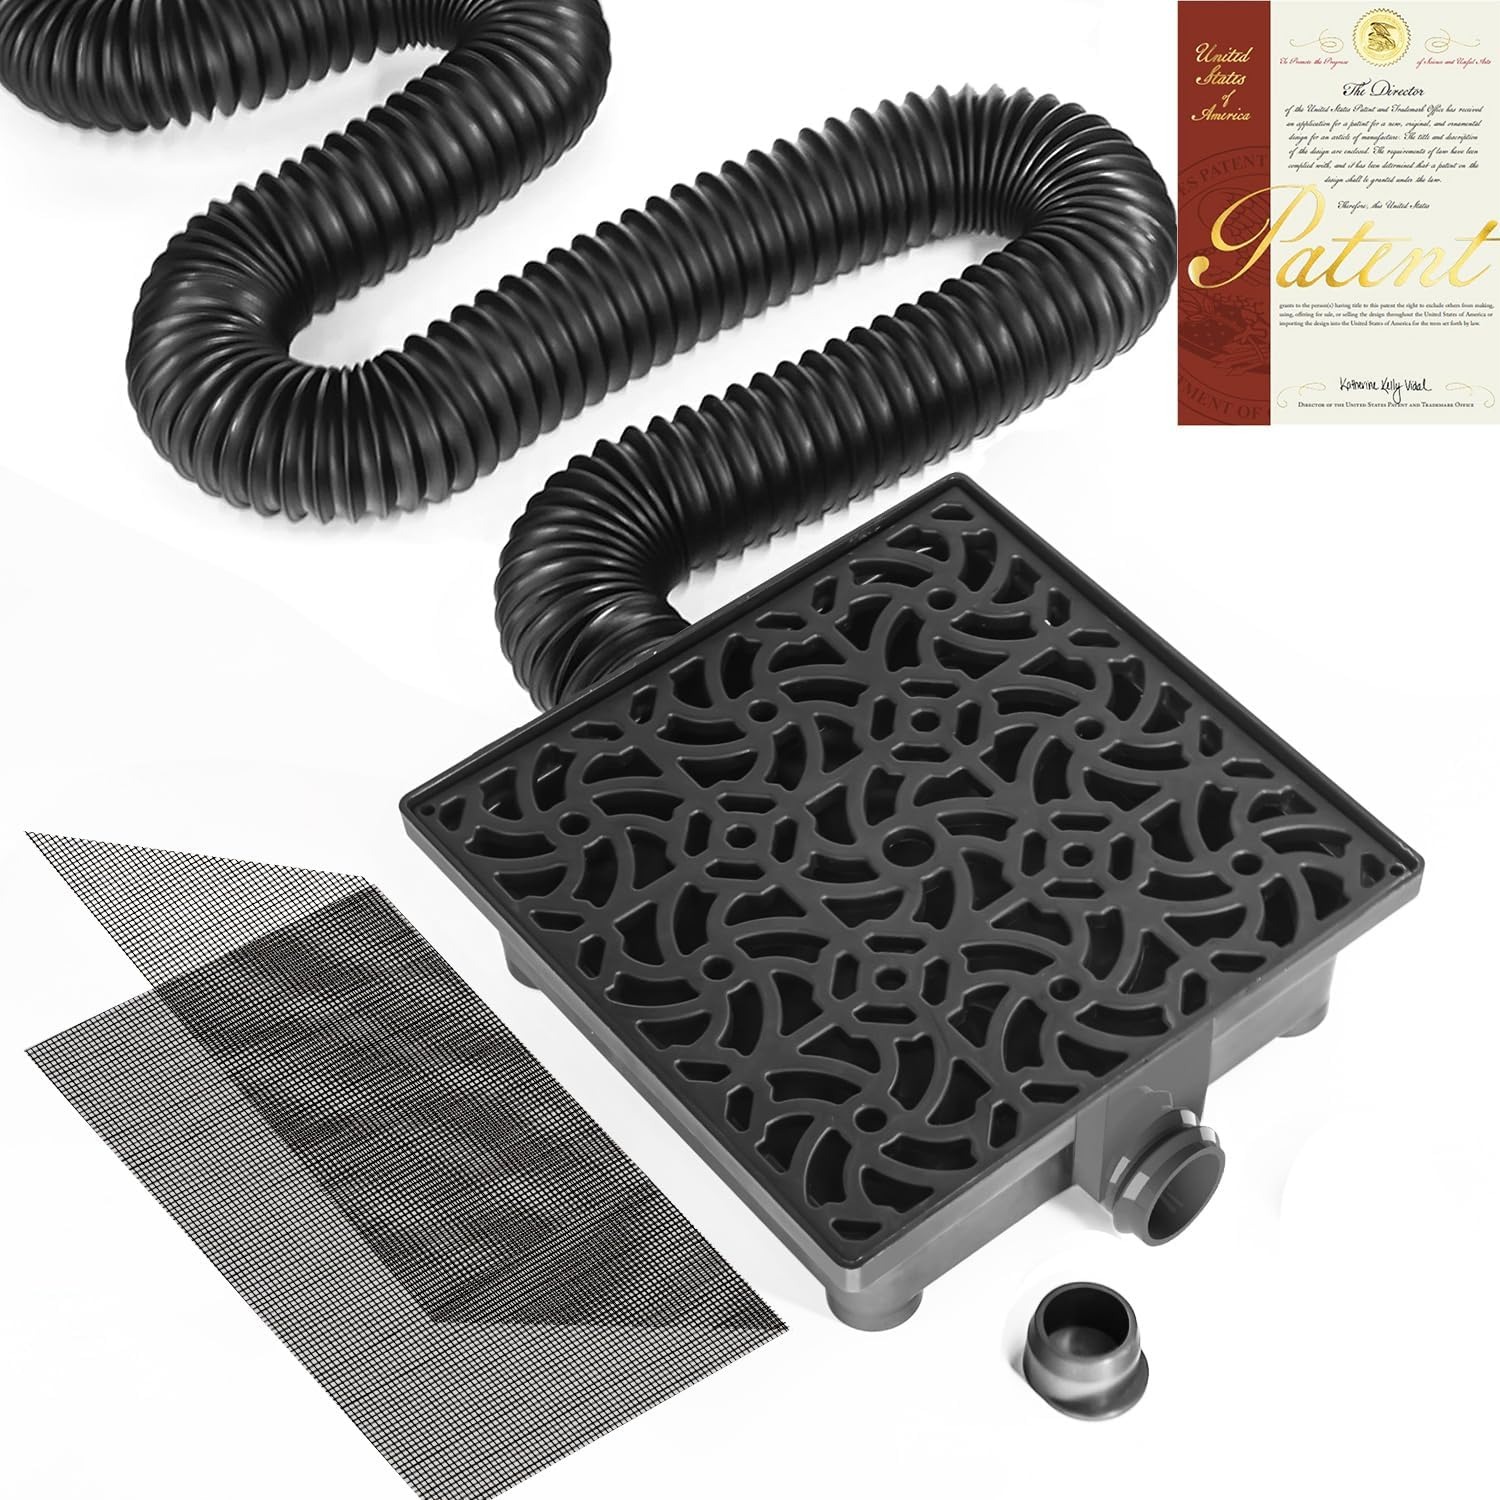
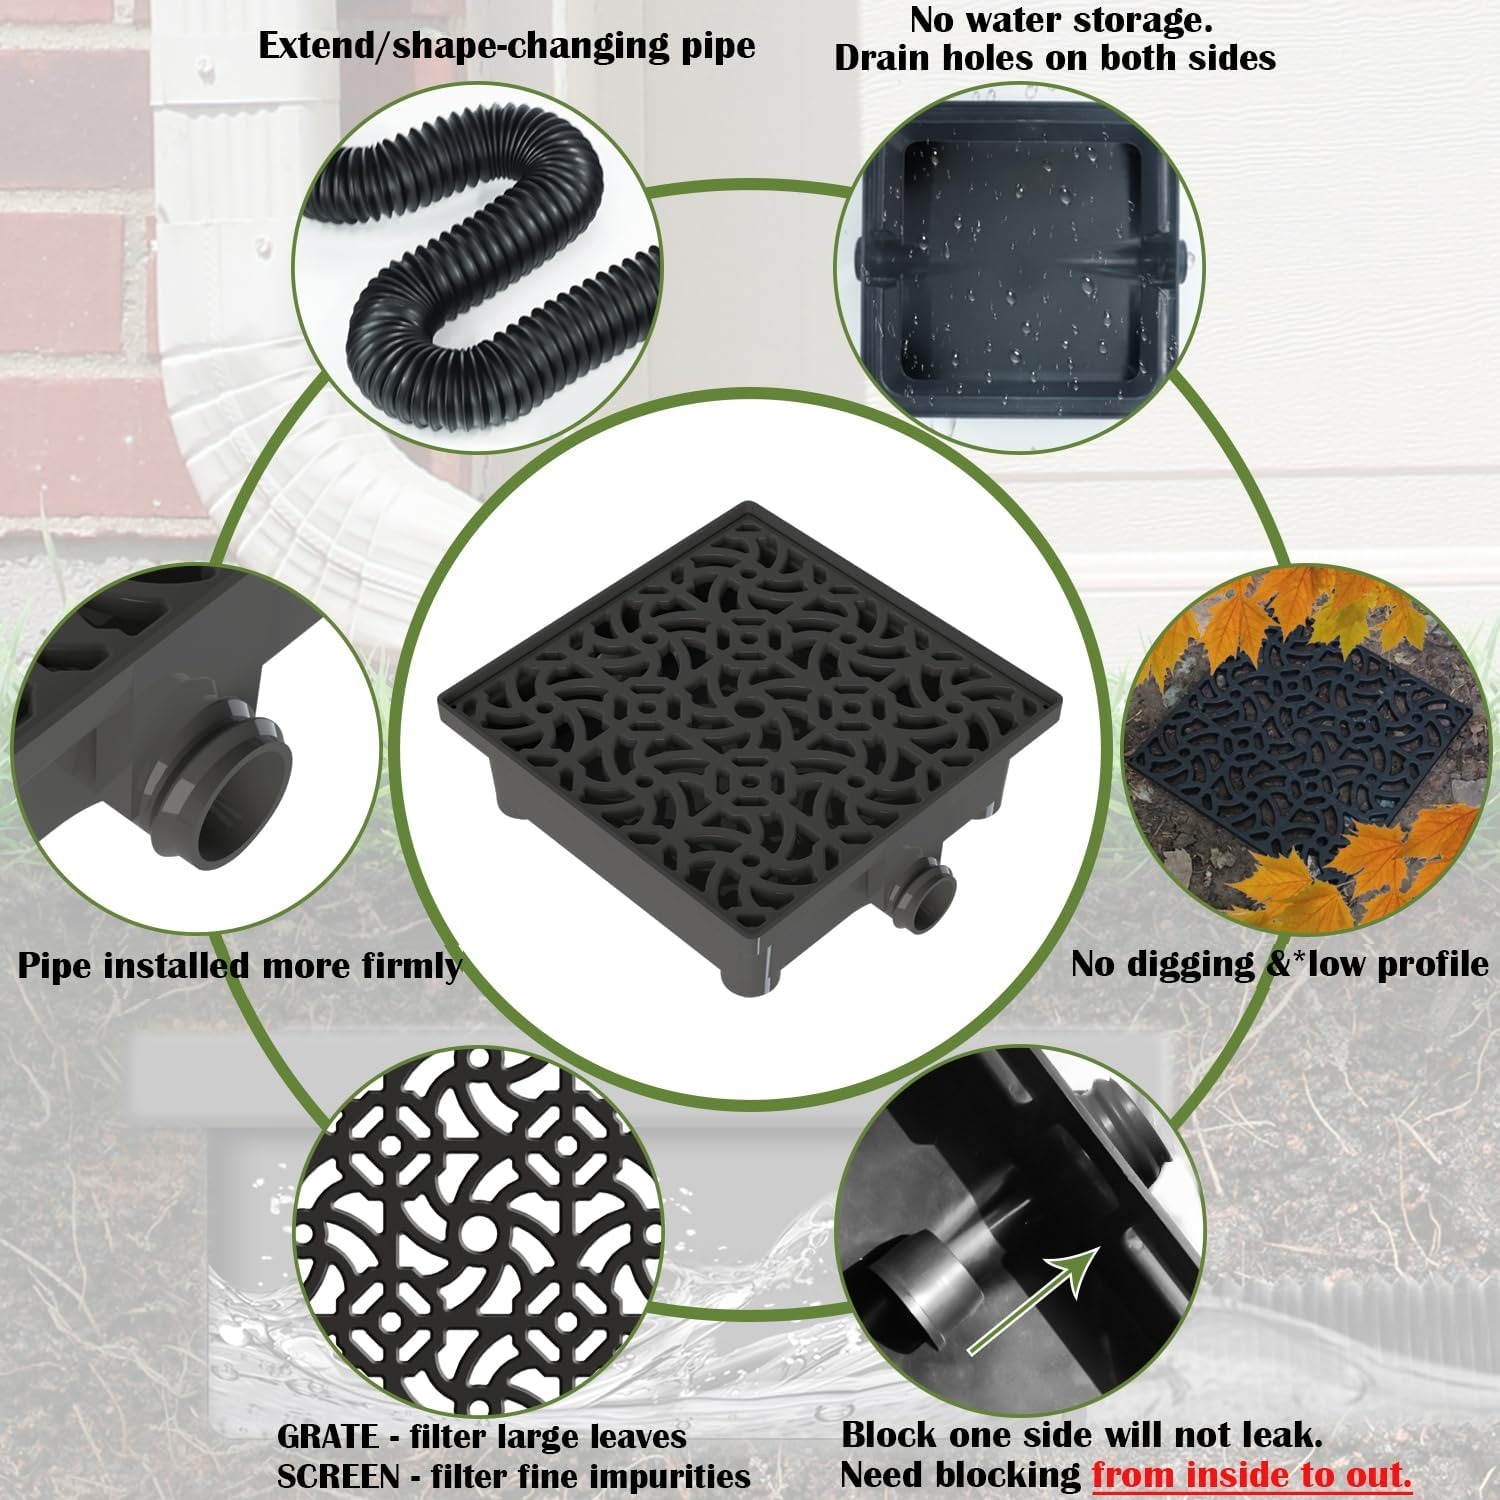
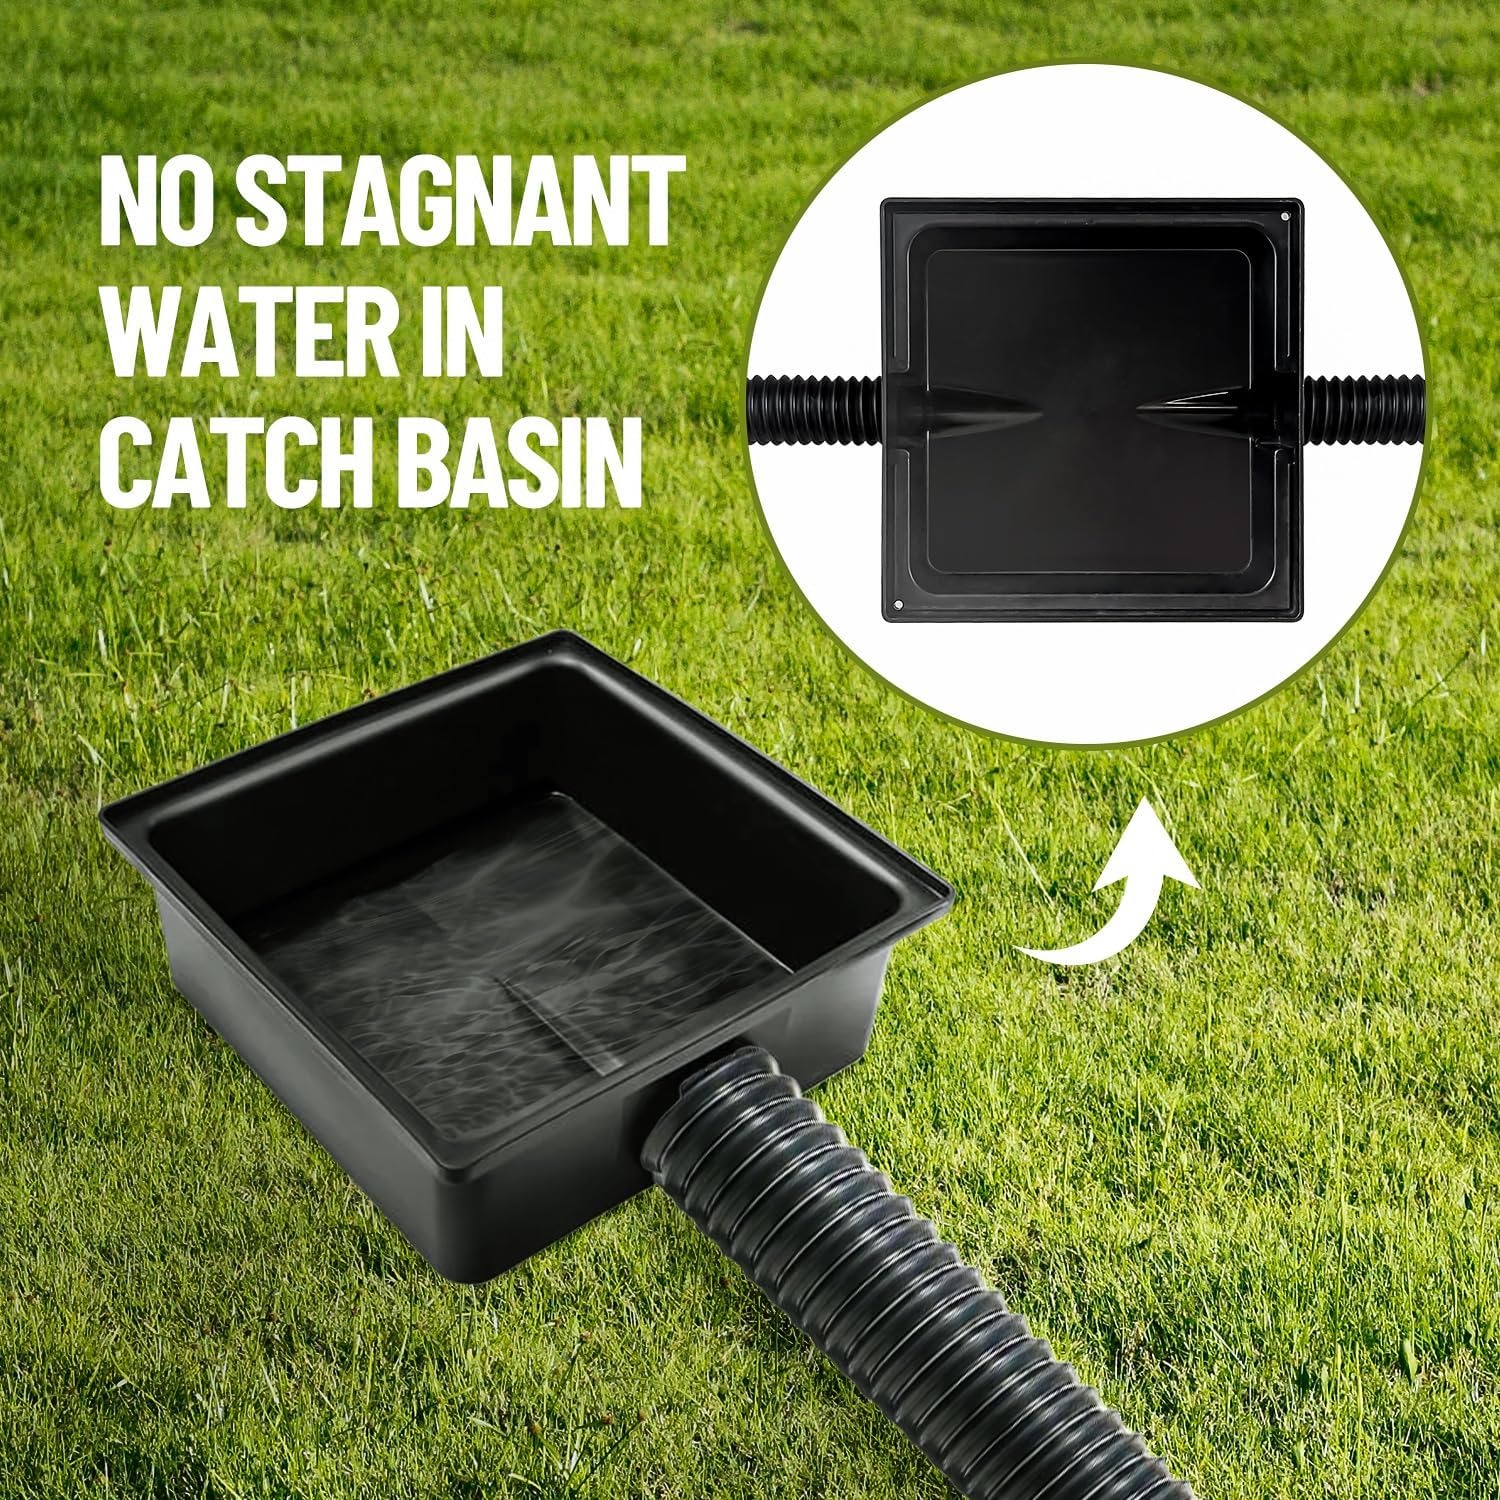
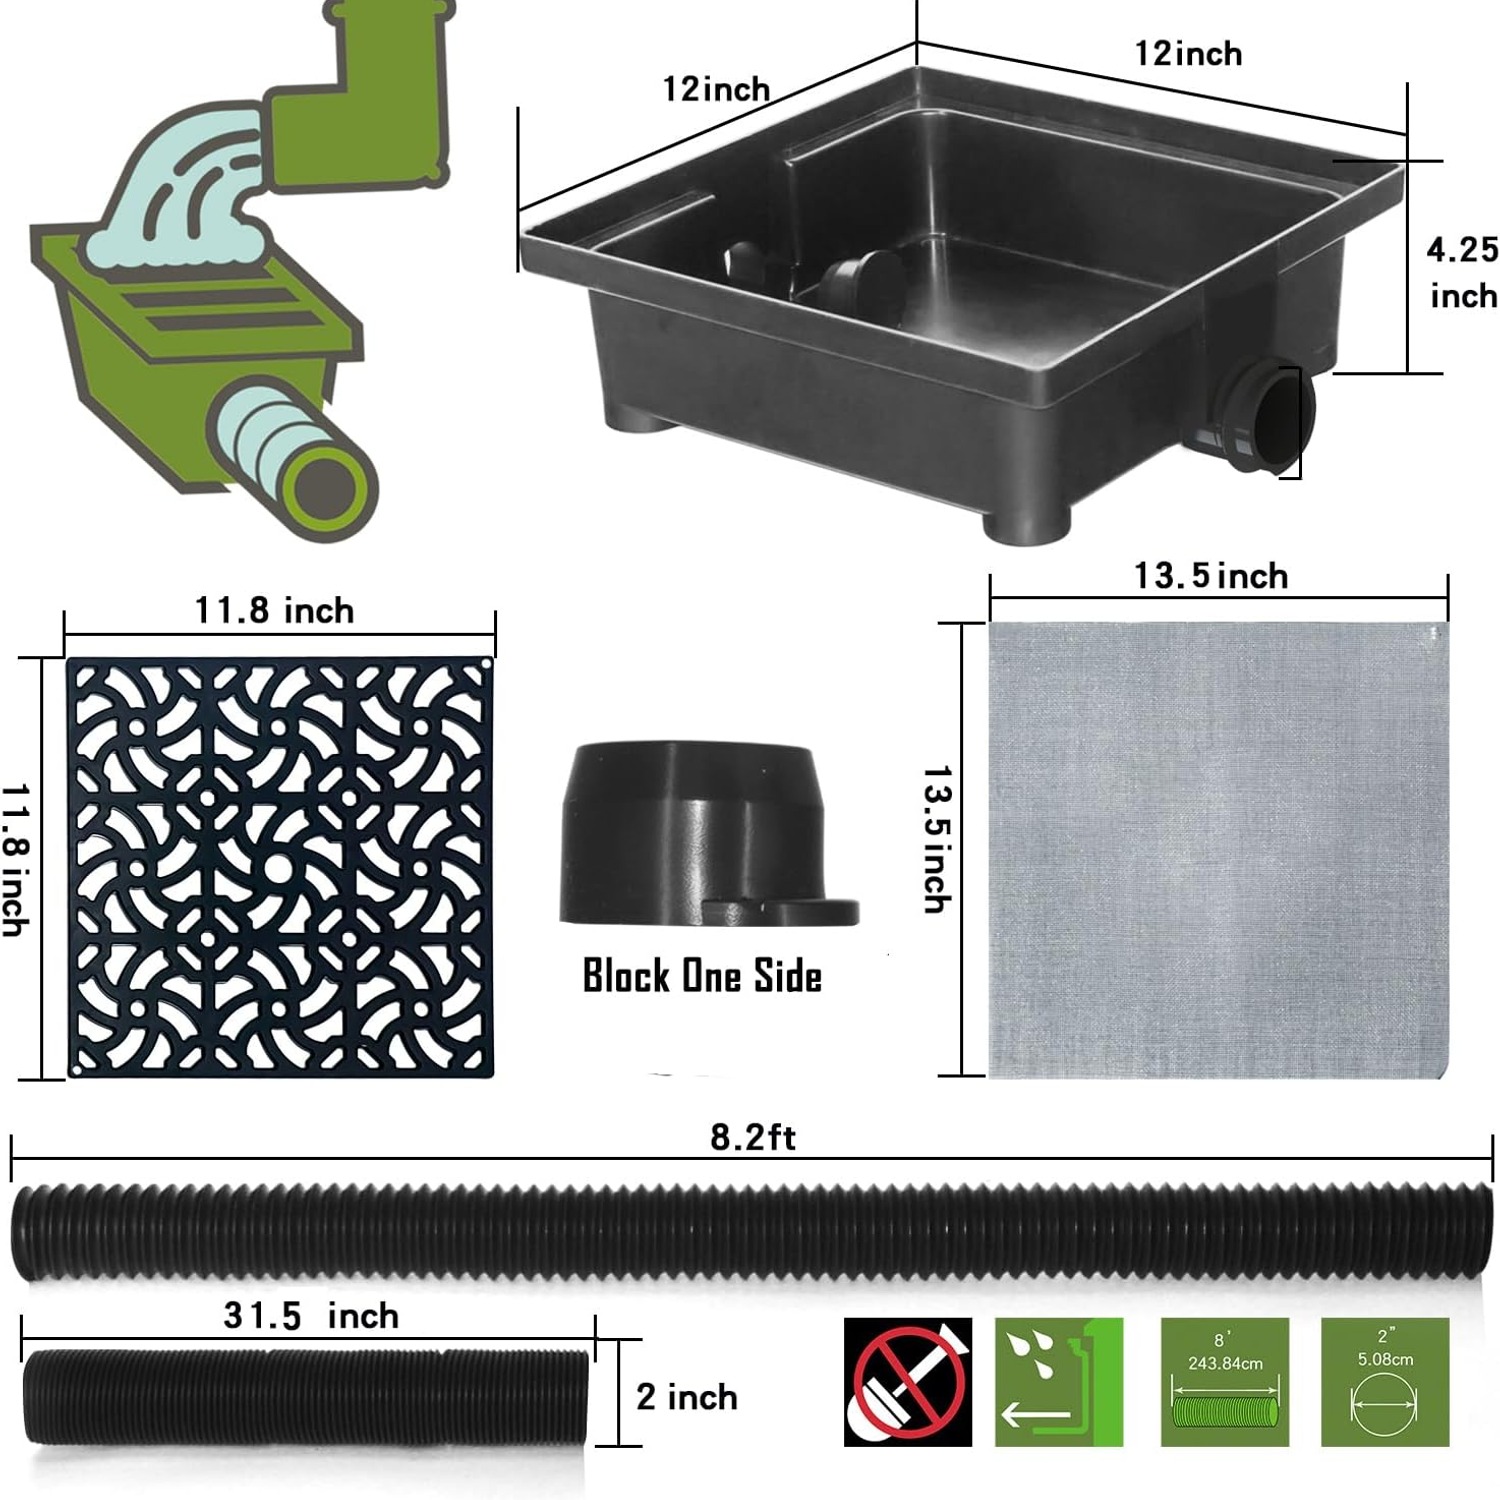
The basin sits under or beside your downspout and takes the flow. It has a grate on top so leaves and twigs stay out, and a finer screen under that for smaller grit. The floor is sloped, so water and silt move toward the outlets instead of settling in the bottom. A flat-bottomed basin turns into a mud tray within a season. A sloped one keeps clearing itself.
The pipe carries the water out. This one compresses to around 2.5ft and pulls out to 8ft, and the useful detail is that it holds whatever shape you bend into it. Routing around a shrub or a paving edge is normal, and a pipe that springs back to straight fights you the whole time. This one stays where you put it. If 8ft is not far enough, the pipe can be cut and spliced to run further.
The connections are handled by two hose clamps. Push the pipe onto the basin outlet, tighten the clamp, done. The basin has two outlets, so you can split the flow in two directions or seal one with the supplied blockage and send everything one way.
Why low profile matters
The traditional answer to this problem is a proper catch basin sunk deep into the ground, or a French drain with a trench, gravel and fabric. Both work. Both are also a serious weekend of digging, and on a small block with mature planting, you may not want to tear up a bed to install one.
Low profile means the basin body sits near the surface. You scrape out a shallow, level seat, drop it in, connect the pipe and backfill around the edges. Then you cover it with mulch or bark and only the grate shows. That is the main reason people search for the best no dig drainage kit rather than committing to a trench.
The trade-off is honest. A surface system handles the runoff from your roof, which is what it is designed for. It will not fix a yard-wide water table problem or a block that holds water across its whole surface. If your issue is the lawn generally, you are looking at a different job. If your issue is the water coming out of that one spout, this is the right tool.
Who it suits
This kit makes sense if you have standard residential downspouts in 2x3 inch, 3x3 inch or 3x4 inch, and a reasonable place to send the water within about 8ft. That covers a lot of houses.
It suits someone who wants the install done in an afternoon with hand tools. It suits a rented place where you cannot dig up the yard properly but can still improve things. And it suits anyone who has tried a splash block and found that moving water a few inches from the wall was never going to be enough.
It is less suitable if the only place to send the water is uphill, if your downspouts are an unusual commercial size, or if you need to carry runoff a long distance across a property. Splicing extends the run, but at some point a proper buried drain line is the better answer.
Working out your run before you order
Spend ten minutes outside before you buy anything.
First, measure the mouth of your downspout. Width and depth. That tells you straight away whether a standard-fit kit will connect.
Second, pick where the water should end up. A garden bed, a gravel strip or a low area that already drains well are all fine. Avoid paths, driveways and anywhere water will run toward a neighbor's land. Avoid steps and anywhere a frost would make a slick patch.
Third, pace out the distance from the spout to that spot and check whether it is downhill. You need a steady fall the whole way. A run that dips in the middle collects silt and slows down. If the distance is more than 8ft, plan on splicing, or move your chosen discharge point closer.
Last, think about what crosses the route. A paved path, a tree root, a washing line post. The shapeable pipe handles bends easily, so the answer is usually to go around rather than through.
Fitting it
Clear the ground where the basin will sit and scrape out a shallow seat. Check it with a spirit level, because a basin that tips backward will hold water. Set it so the grate sits flush with or just below the surrounding soil, which lets surface water run in rather than around.
Lay the pipe along your chosen route and set the length. Pull it out to what you need, then push it onto the basin outlet and tighten a hose clamp over the joint. If you are using both outlets, cut the pipe and repeat. If you are only using one, push the blockage into the spare outlet. The sealed side will not weep.
Set the pipe into a shallow channel so it has a steady fall and nothing can kink it. Backfill lightly. Cover the pipe and the basin body with mulch or soil, but leave the grate clear and accessible.
Then wait for rain and go and look. That first storm tells you everything. If water backs up over the grate, your fall is wrong or the pipe has a dip. If the outlet end is throwing water into a new puddle, move the discharge point. Small adjustments now save you redoing it in spring.
Keeping it working
Surface drainage needs a little attention, which is a fair trade for not digging a trench.
Every few months, lift the grate and clear out whatever has collected. Leaves, seed pods, grit, the odd stone. Rinse the filter screen under a faucet and refit it. This is a five minute job and it is the single thing that keeps the system working.
Do it again after fall leaf fall, when the grate takes the heaviest load. Before winter, clear everything out so nothing sits packed in the basin holding water through a freeze.
If flow slows noticeably, run a garden hose into the basin and watch the outlet. Weak flow usually means debris in the pipe, and a hose will often shift it. Check the hose clamps too, since they can loosen slightly after the first few heavy storms.
The short version
Roof water needs to go somewhere, and the default spot is usually the worst possible one. This kit catches it and moves it several feet away, without a trench and without power.
You get a black low profile basin with a 12 inch outside diameter, a grate, a finer screen, an 8ft flexible pipe that compresses to about 2.5ft, a blockage plug for the unused outlet and two hose clamps. It fits standard 2x3, 3x3 and 3x4 inch downspouts.
Measure your spout, pick a discharge point downhill within 8ft, and give yourself an hour with a spade and a level. Clear the grate a few times a year and it keeps doing its job quietly in the background, which is all you want from drainage.