
The complete guide
How To Choose A 4 Inch Yard Drain Grate That Actually Keeps Working
The puddle that keeps coming back
There is a particular patch of lawn in most yards that stays wet long after the rest has dried. Sometimes it is a genuine leveling problem. Often enough, though, there is a perfectly good drainage pipe under there doing nothing, because its opening has silently filled with leaves, grass clippings and bark chips over three or four seasons.
Open drainage pipe is a trap. It sits at ground level with a dark hole in the top, and everything the wind moves eventually ends up in it. Once the first handful of wet leaves packs down, the pipe stops being a drain and starts being a trash trash can. Water hits the blockage, sits on the surface, and you get the soft patch, the moss, the mosquitoes in summer and the ice sheet in winter.
A grate at the inlet solves the problem for almost nothing. It is the least glamorous part of a drainage system and the part that does the most to keep the rest of it working.
What the grate is actually doing
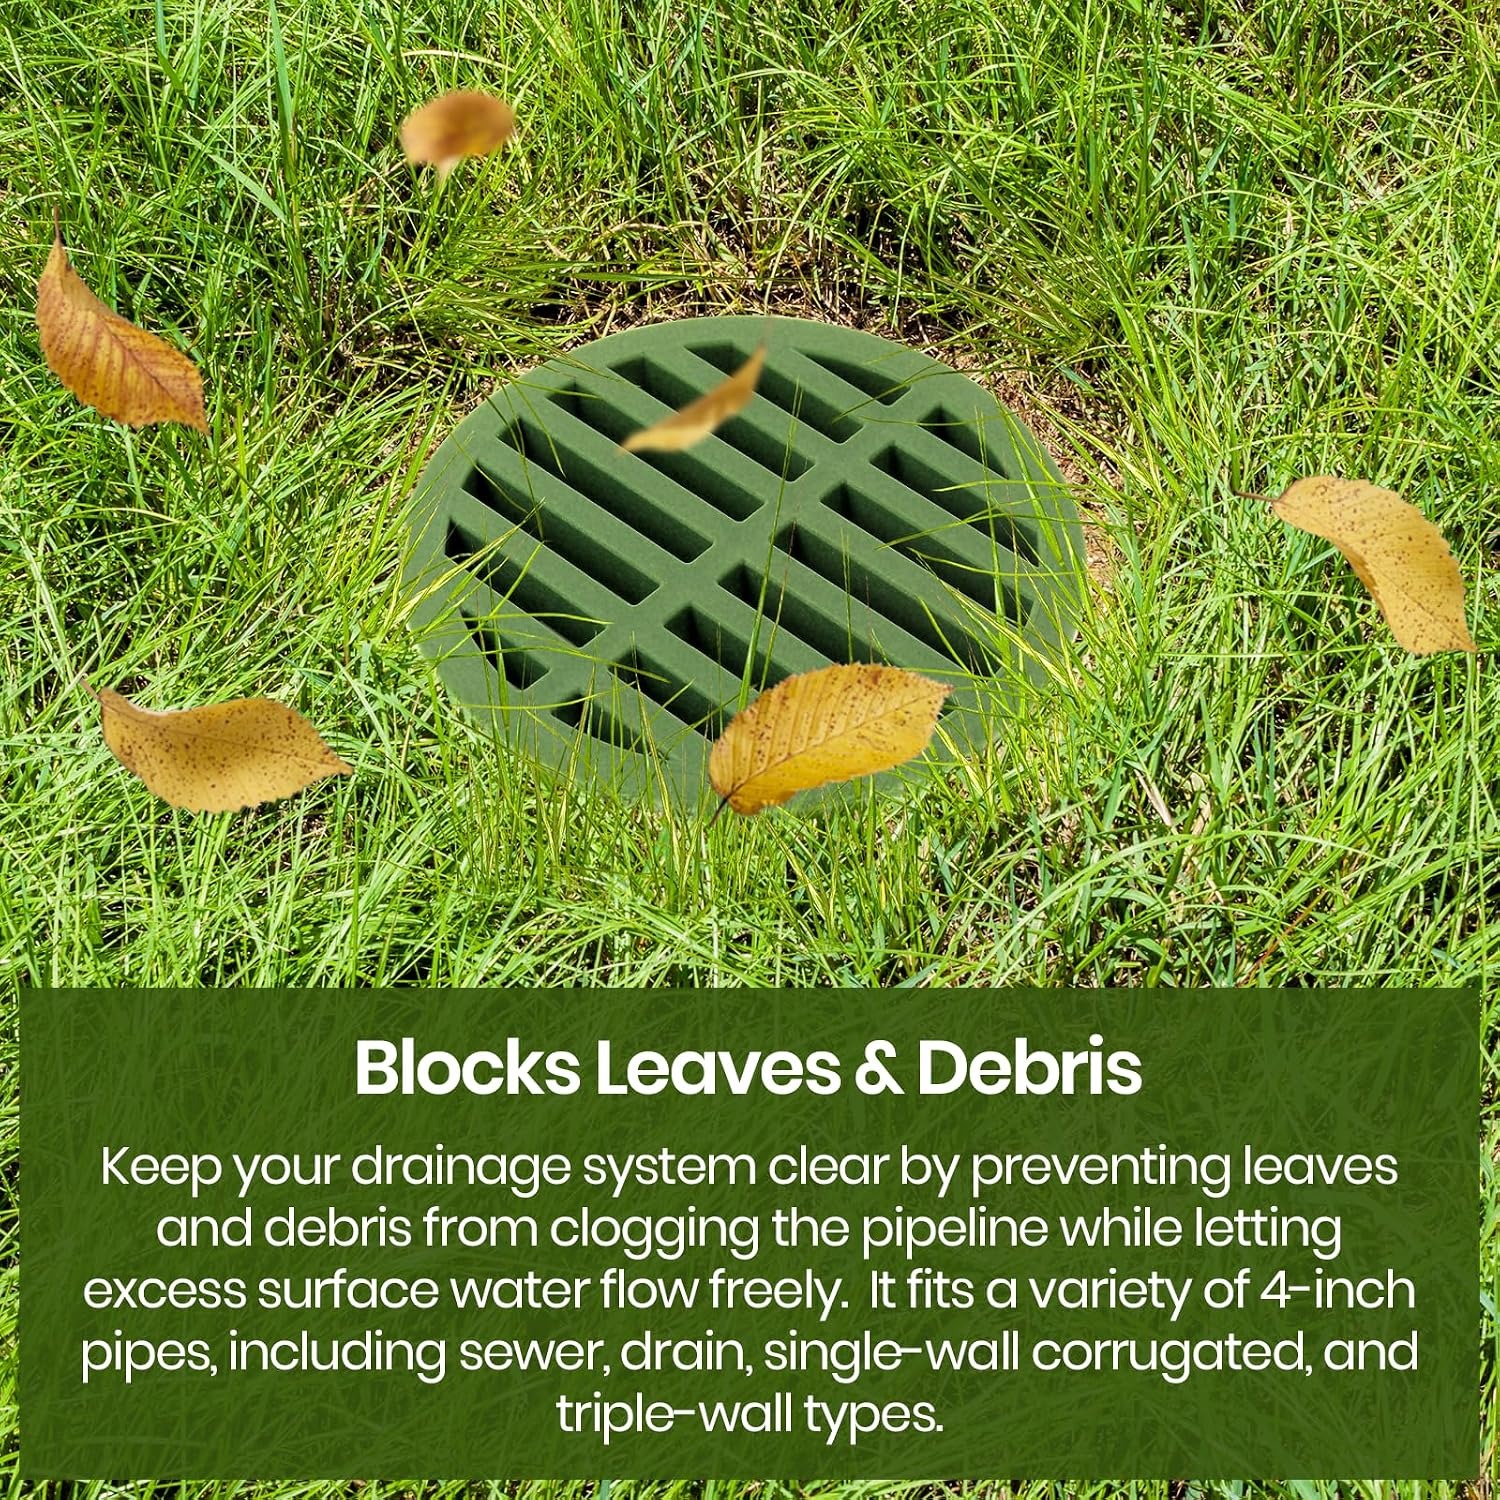
Think of it as a filter with very large holes. Water passes through the slots with almost no resistance. Leaves, twigs and bark sit on top, where you can see them and sweep them off. The debris never reaches the buried section of pipe, which is the part you cannot reach without a spade.
This particular grate is rated at 12 GPM with 3.9 square inches of open surface area. Those two numbers tell you the same thing from different angles. The open area is how much hole there is for water to use, and the flow rate is roughly how fast water moves through it under normal conditions. Twelve gallons a minute is a steady, useful amount. It handles the run-off from a small lawn, a planted border or a landscaped strip beside a path.
What it is not built for is a cloudburst dumping an entire roof's worth of water into one small opening. If you are catching a large roof or a long driveway, the right answer is a bigger inlet or a catch basin with a sump, not more small grates. Matching the grate to the water volume is the single most common sizing mistake people make.
Getting the pipe size right
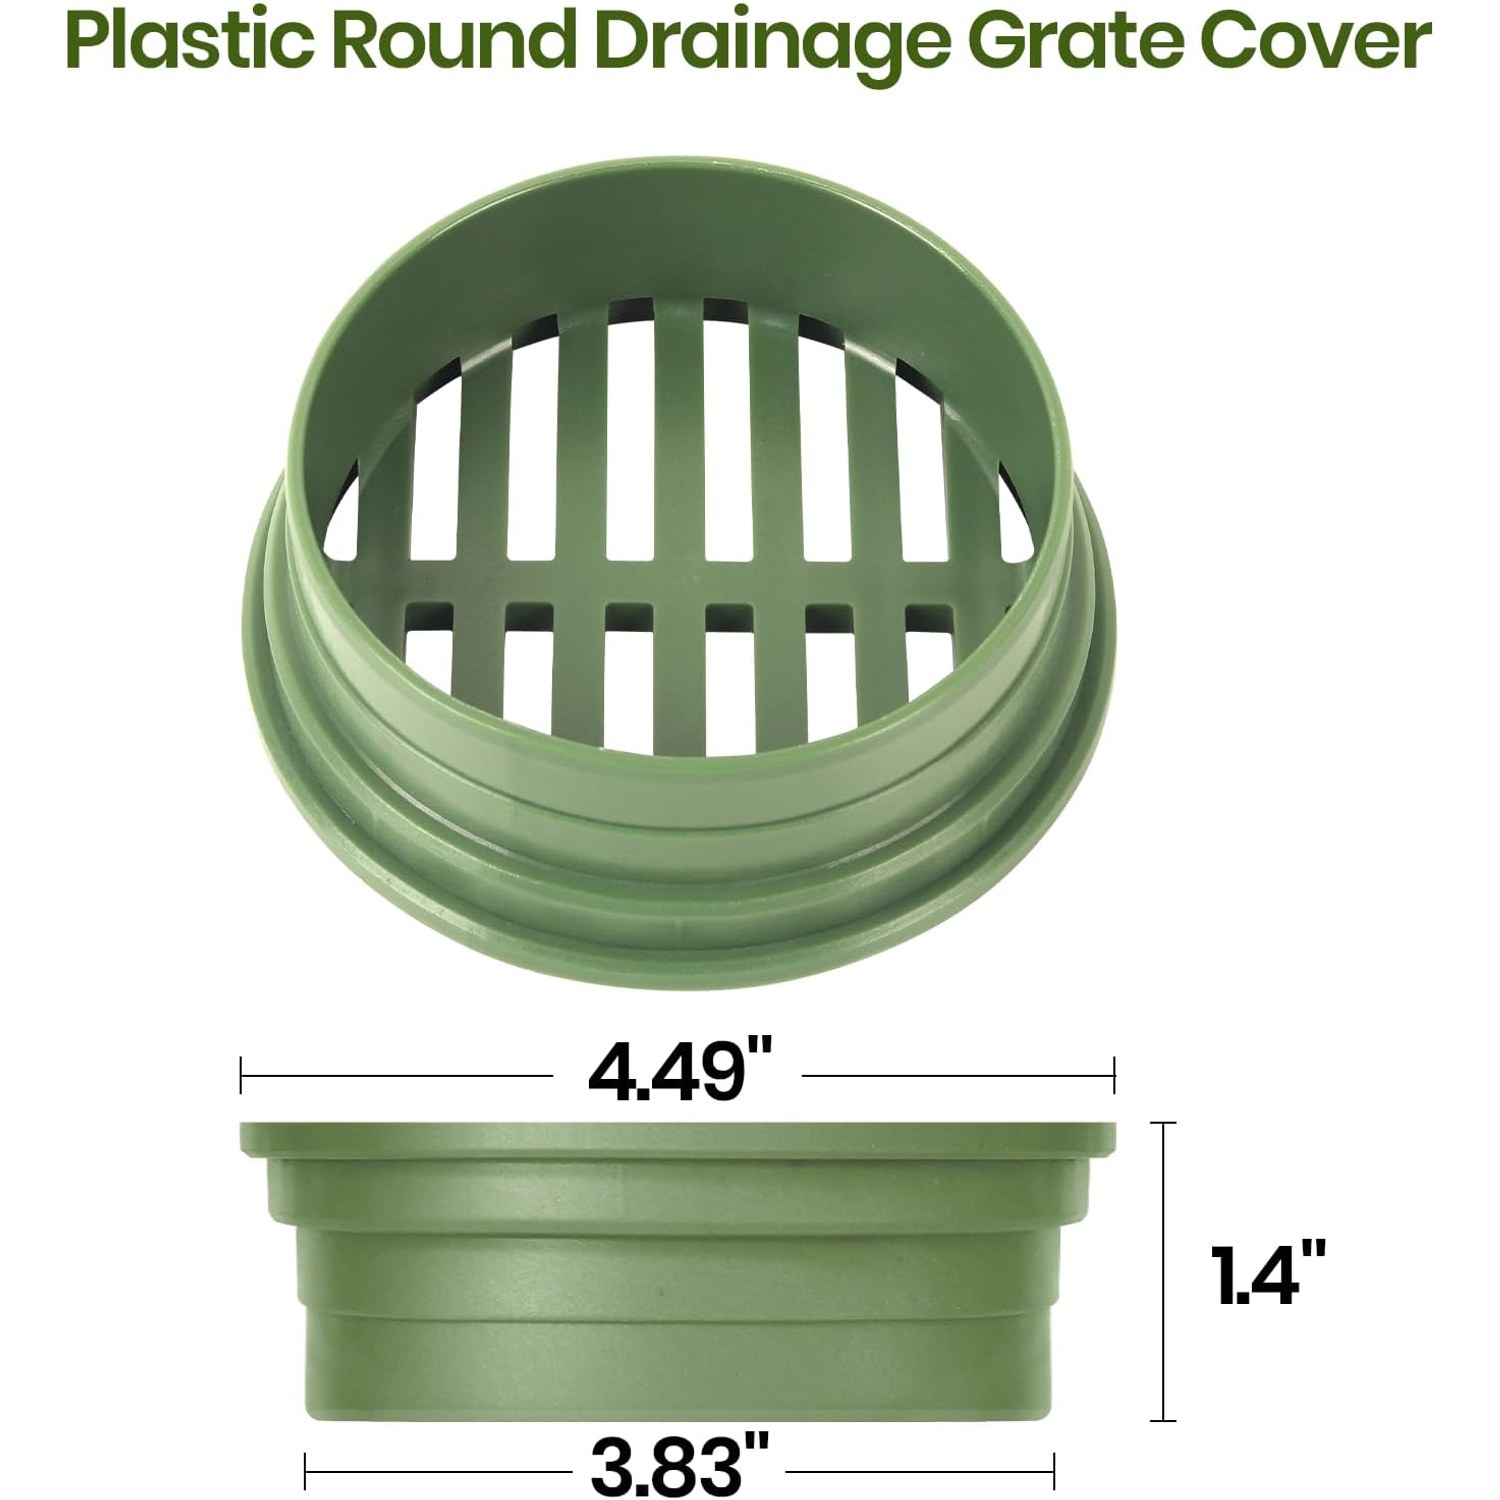
Everything hinges on this. The grate is made for 4 inch pipe, and the listed compatible groove and hole size is 4 inches. The manufacturer lists sewer and drain pipe, single wall corrugated and triple wall as compatible types.
Those three pipe types are not interchangeable in every respect, but at 4 inch nominal they share the dimensions that matter for seating a grate. Before you order, go out with a tape measure and check the open end of your pipe. Measure across the opening, not around the outside of a corrugation ridge, and note whether the wall is smooth or ribbed.
If you find 3 inch or 6 inch pipe, this grate is the wrong part. That sounds obvious, but a surprising number of returns come from people who assumed all garden drainage pipe was the same size. Older yards in particular can have a mix, especially where a previous owner extended a run with whatever was on the shelf that weekend.
Material matters more than it looks
Outdoor plastic lives a hard life. Ultraviolet light breaks down the polymer chains in ordinary plastic, which is why cheap grates go pale, then chalky, then crack the first time a boot lands on them. You usually get two or three summers before that happens.
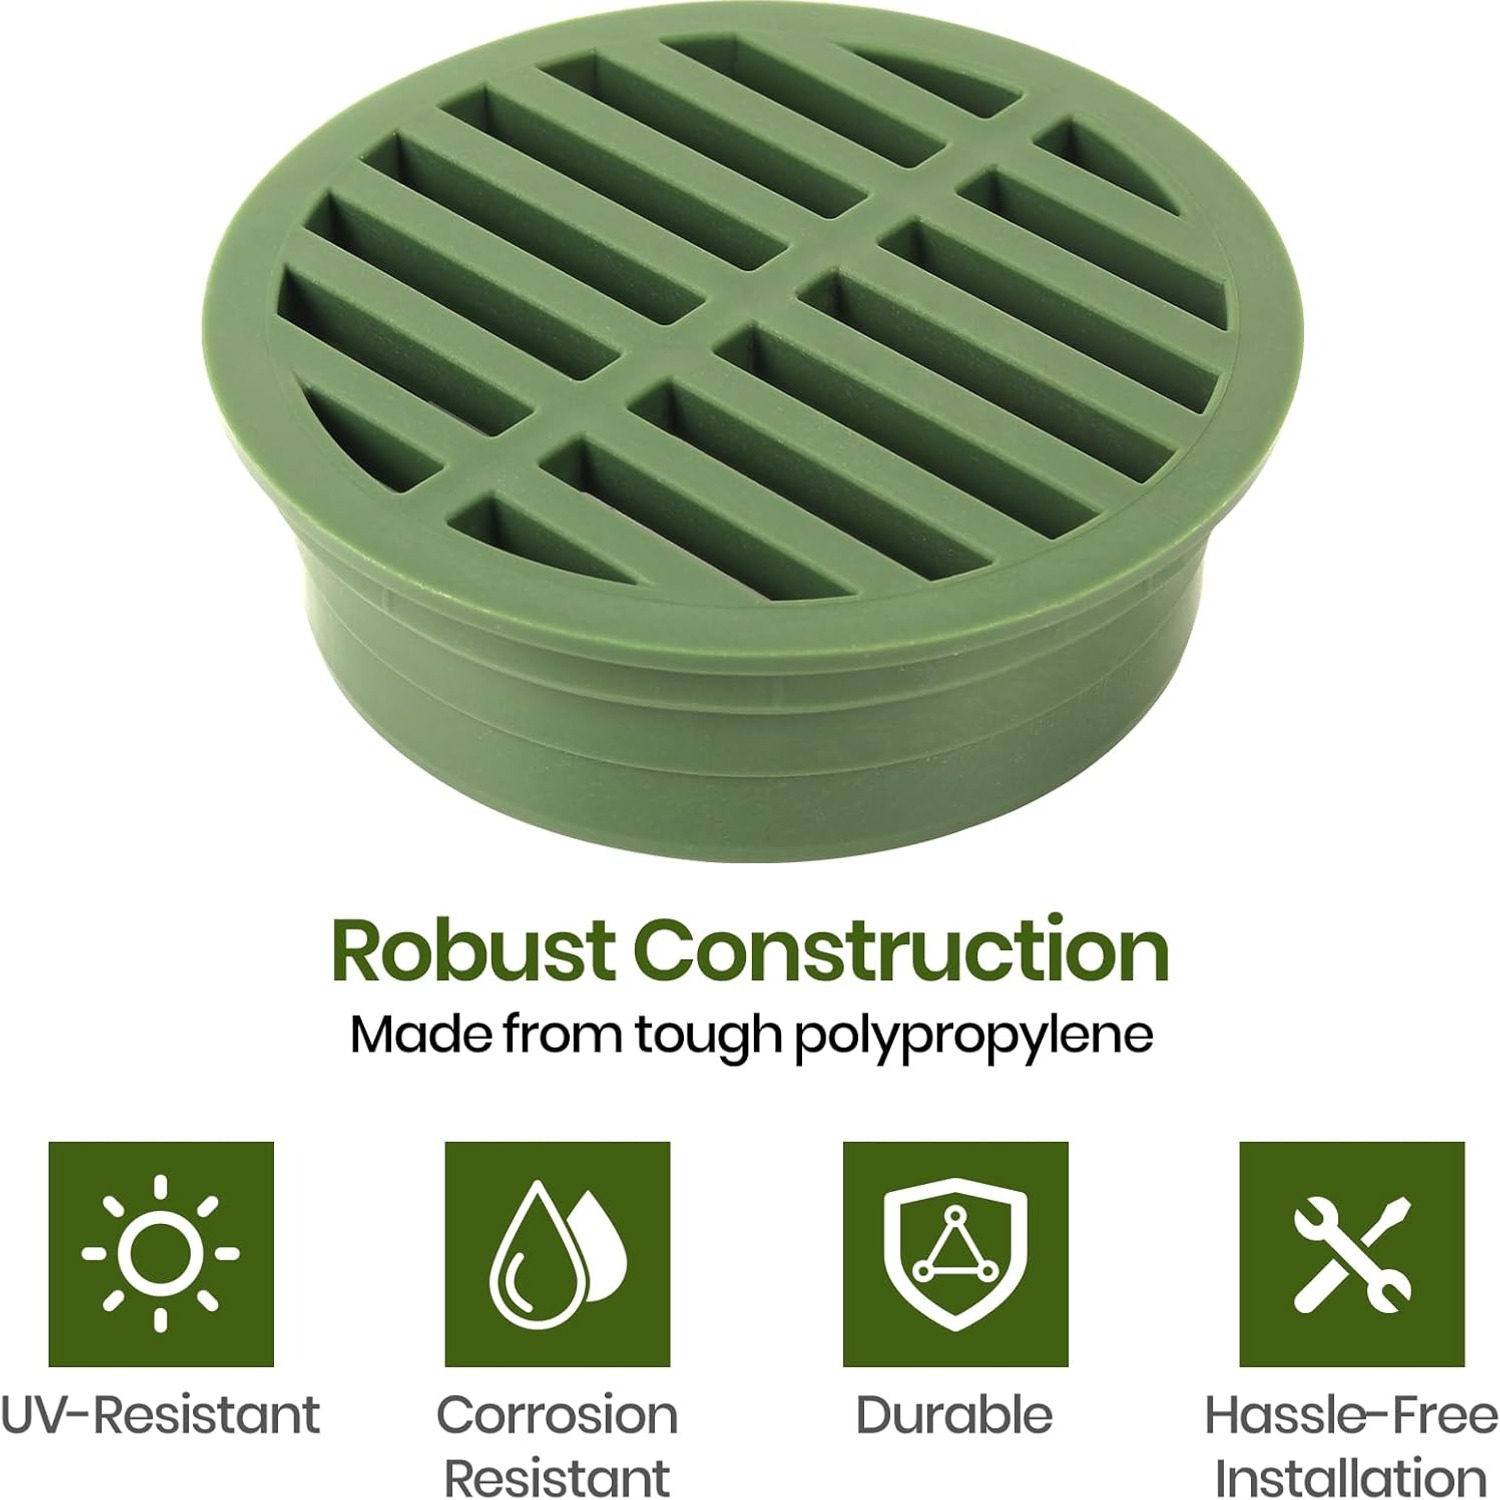
Polypropylene with UV resistance is the standard answer. It holds its structure and color much longer in direct sun, and it does not rust, rot or corrode in wet soil the way a steel grate eventually will. For a part that is going to sit in open ground with water running over it several hundred times a year, that durability is the whole point.
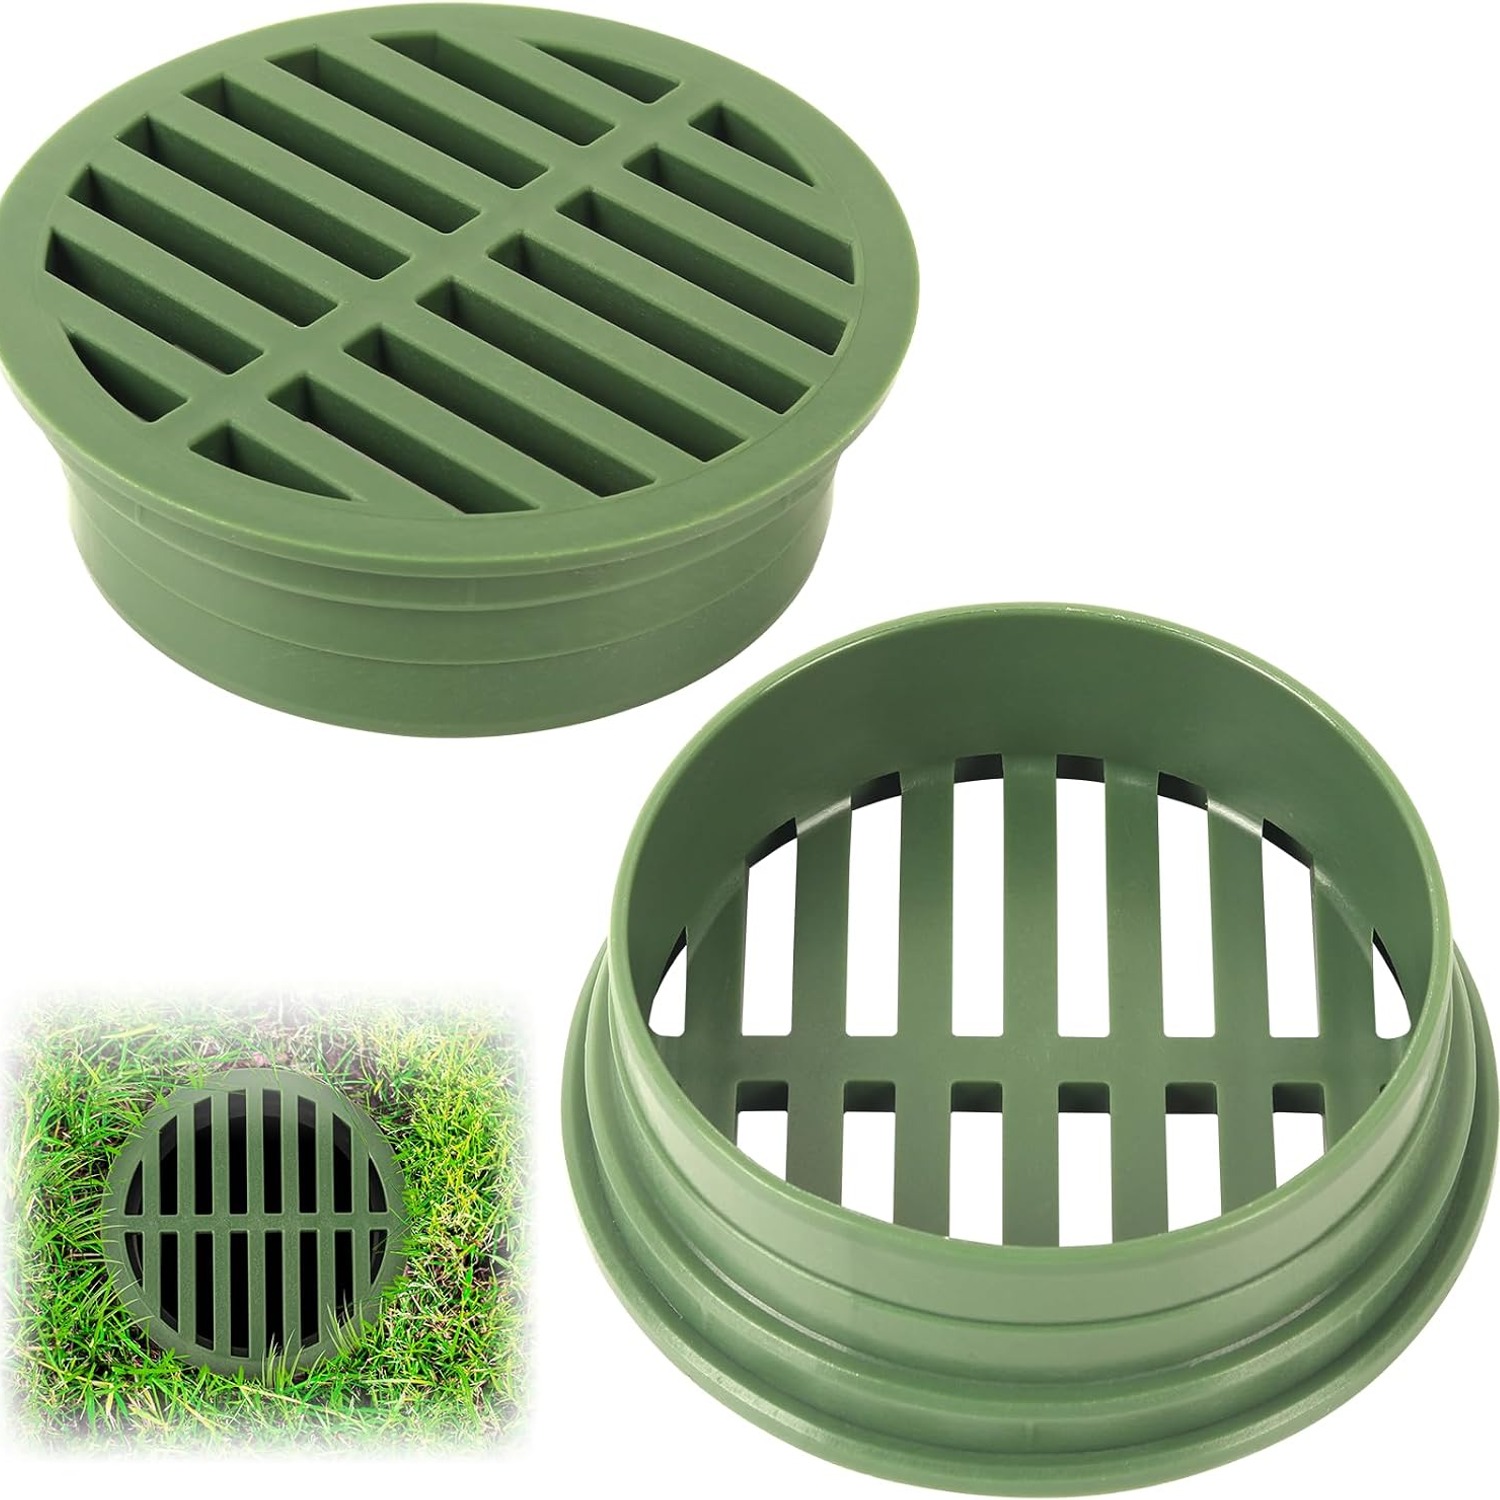
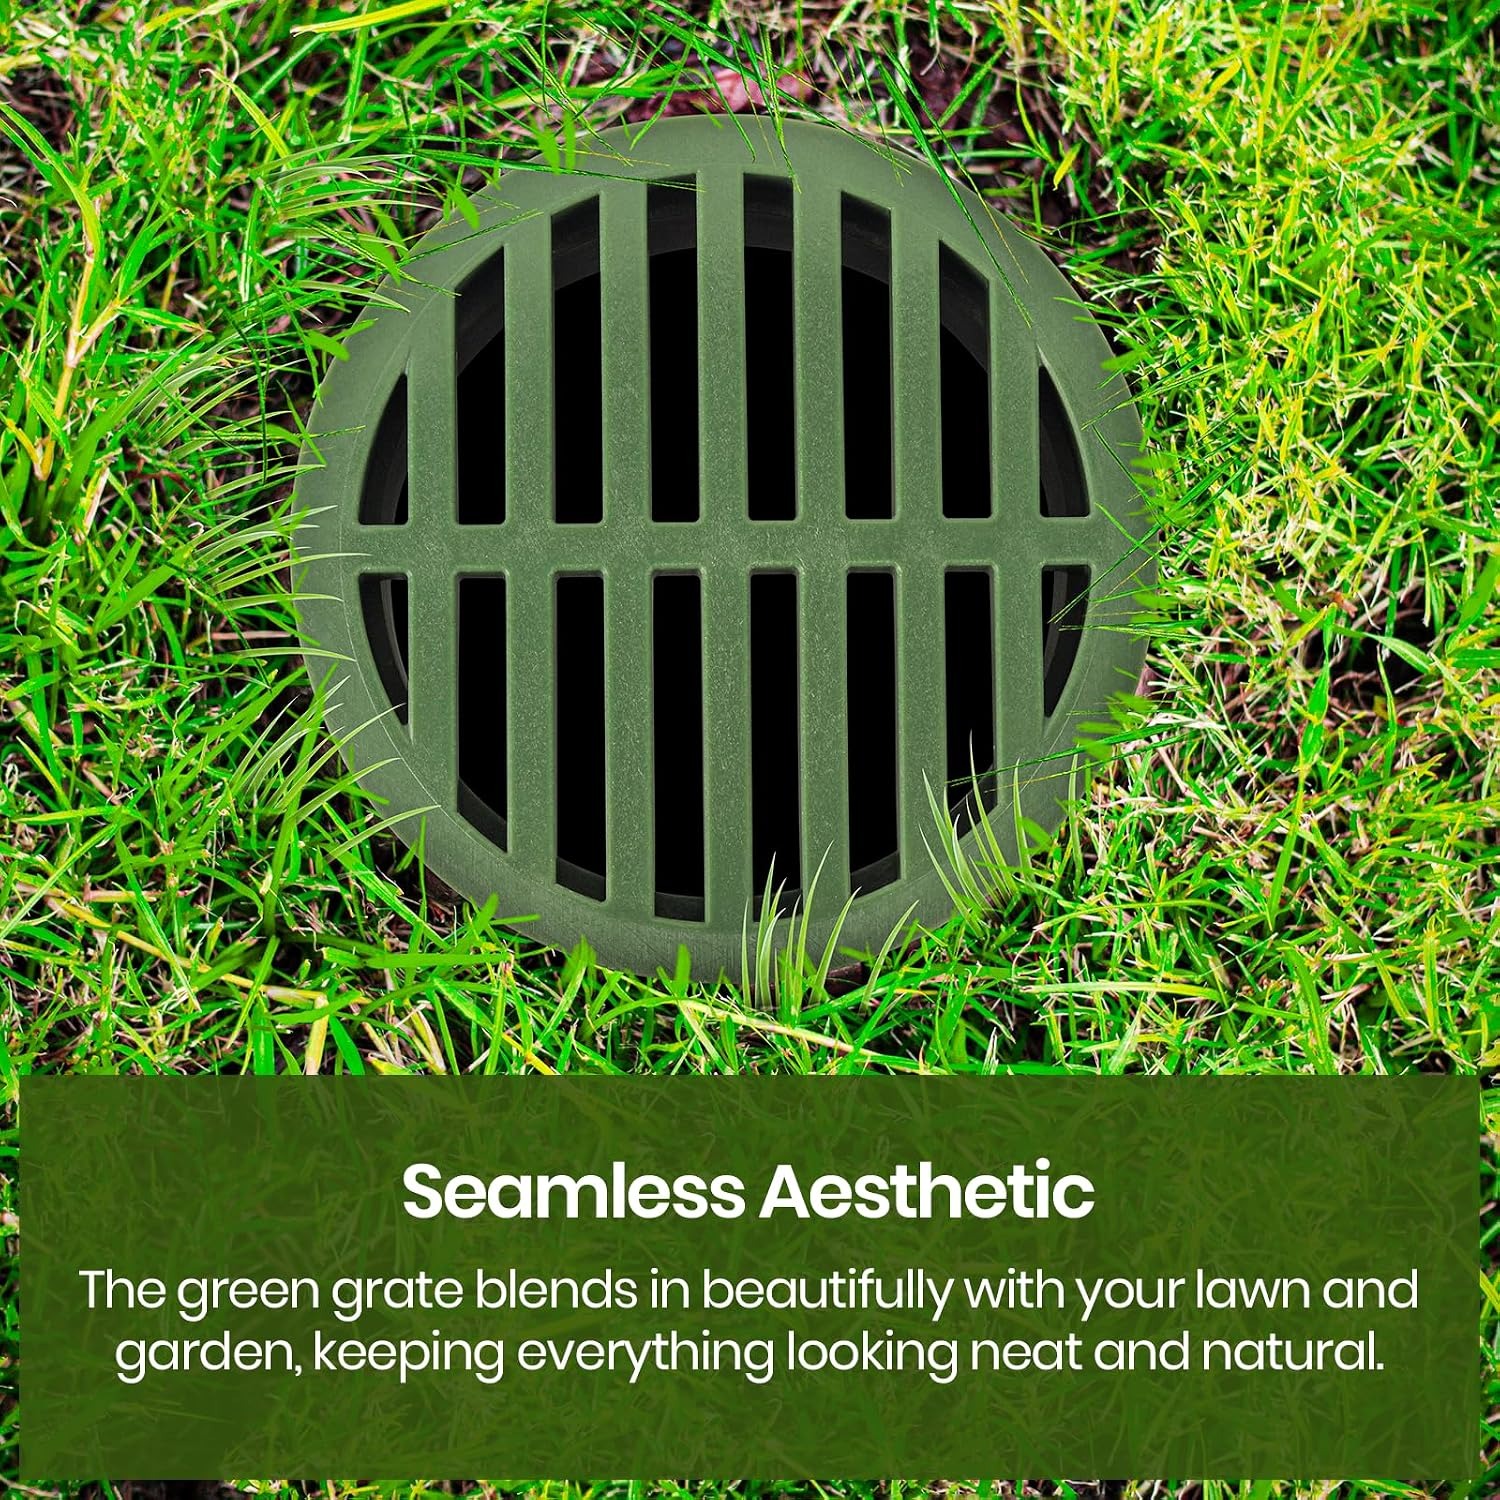
The green color is more than a styling choice too. White and light gray plastic draws the eye immediately, especially in a tidy lawn. Green sinks into the background. Within a few weeks of the grass growing up around the rim, most people stop noticing the grate is there at all. If you have been putting off fitting a drain cover because you did not want an ugly disc in the middle of your lawn, this is the version that solves that objection.
Where people actually use these
The most common position is the surface inlet of a buried drainage line, usually in the lowest corner of a lawn or at the base of a slope where water collects. The second most common is at the end of a downspout run, where the pipe from the gutter travels underground and surfaces somewhere further from the house.
Garden beds are a good spot as well. Planted areas with heavy mulch generate a lot of loose material, so a grate earns its keep quickly there. A ring of clear soil or a few edging stones around the rim keeps bark chips from washing straight onto the slots.
Near paths and patios, the heel proof rating becomes important. The slot spacing is tight enough that narrow heels, walking sticks and small wheels pass over without catching. That makes it a sensible choice beside a front entry or along a garden path where guests walk.
Where it does not belong is under a car. Driveways, parking pads and anywhere a trailer or ride-on mower crosses need a load-rated grate built for vehicle weight. This one is not that part, and asking it to do that job will crack it.
Fitting it without drama
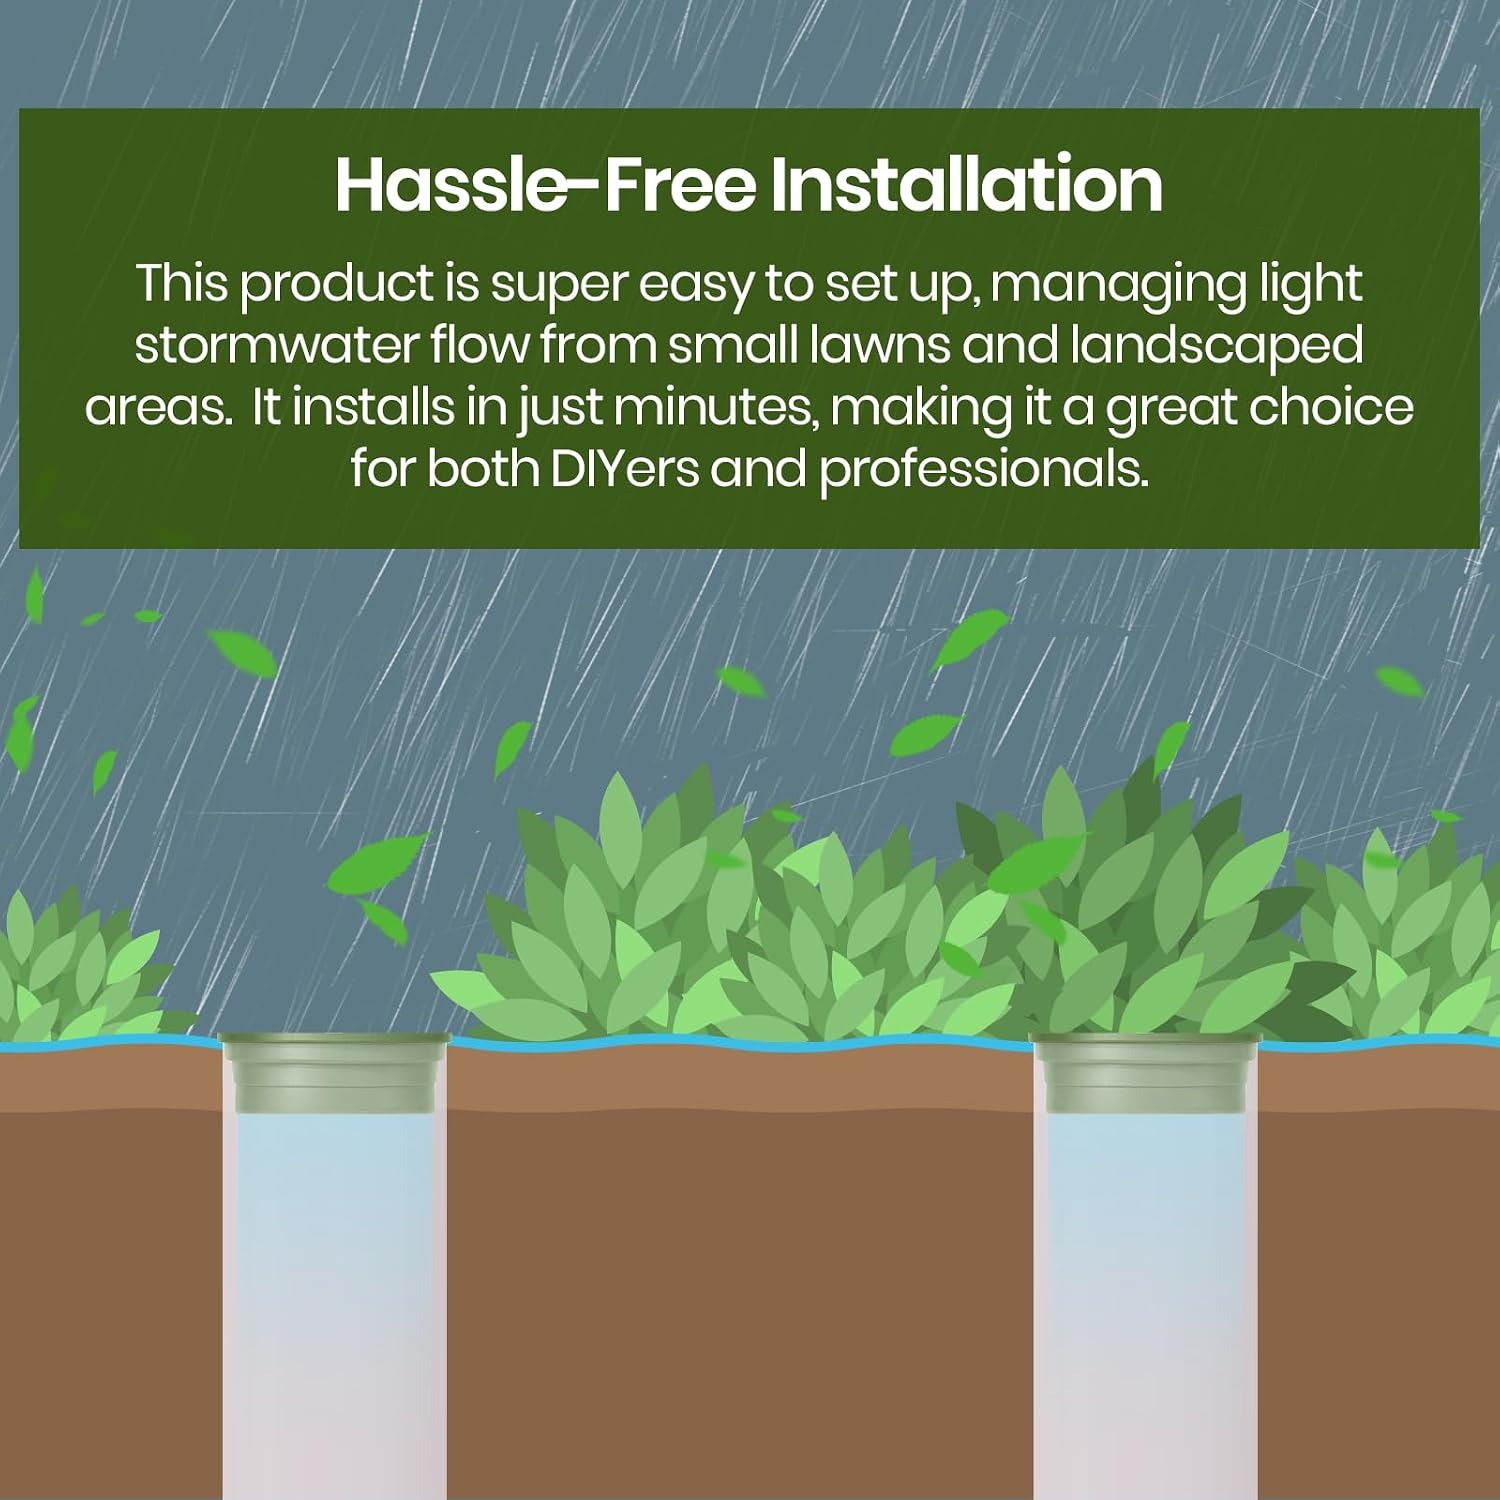
Installation genuinely takes minutes. Clear the soil and debris from the pipe end so you can see the opening properly. Scrape any grit out of the groove or the top ridge of corrugated pipe, because a single stone will stop the grate seating level. Press the grate into position, check it sits flush with the surrounding ground, then firm the soil back around the rim.
Set the top of the grate slightly below mower blade height. Level with the soil is usually right. Proud of the soil and you will clip it; too deep and silt collects in the dish around it.
Run a hose into the area afterwards and watch the water. If it finds the grate and disappears, you are done. If it pools to one side, scrape a shallow slope toward the inlet. Five minutes with a trowel now saves a lot of head scratching after the next storm.
Keeping it working
A grate only works if the top of it stays clear. Check it after heavy rain and through fall when leaves are falling. The rest of the year, every couple of months is plenty.
Cleaning means lifting it, tipping the debris off and giving it a rinse. If grime has baked on, a stiff brush and mild soapy water sorts it. Skip solvents and strong chemical cleaners, which do plastic no favors over time.
In cold weather, be gentle. Plastic stiffens as temperatures drop, so do not lever a frozen grate out with a metal bar or stamp on an iced-over one. Clear the snow and wait for a thaw.
Watch for soil movement too. A winter of freezing and thawing can lift an edge or shift the soil around the rim. Reseating it takes a moment and keeps the water flowing where you want it.
The short version
If you have a 4 inch drainage pipe with an open end, put a grate on it. It is cheap, it fits in minutes, and it stops the slow silent blockage that turns a working drain into a wet patch.
Check your pipe is actually 4 inch before ordering. Match the 12 GPM rating to the amount of water you are moving, and step up to a larger inlet if you are catching a big roof. Keep it level with the soil, keep the top clear, and remember it is built for people and bikes rather than cars.
Two in a pack means you can cover a pair of outlets or keep a spare for the next job, which, if you have ever dug up a blocked line in the rain, is money well spent.