
The complete guide
How to Choose and Use a Mini Sink Plunger
The problem with the plunger you already own
Almost every home has a plunger. It is red or black, it has a handle about the length of a broomstick, and it lives behind the toilet. When the kitchen sink starts to back up, that is the tool you reach for, and that is where things go wrong.
The handle hits the faucet. The cup is wider than the sink bowl, so it will not sit flat around the drain. You push, water sloshes over the edge, and after five minutes of splashing the sink is draining exactly as slowly as it was before. That is not a sign the clog is serious. It is usually a sign you never got a seal.
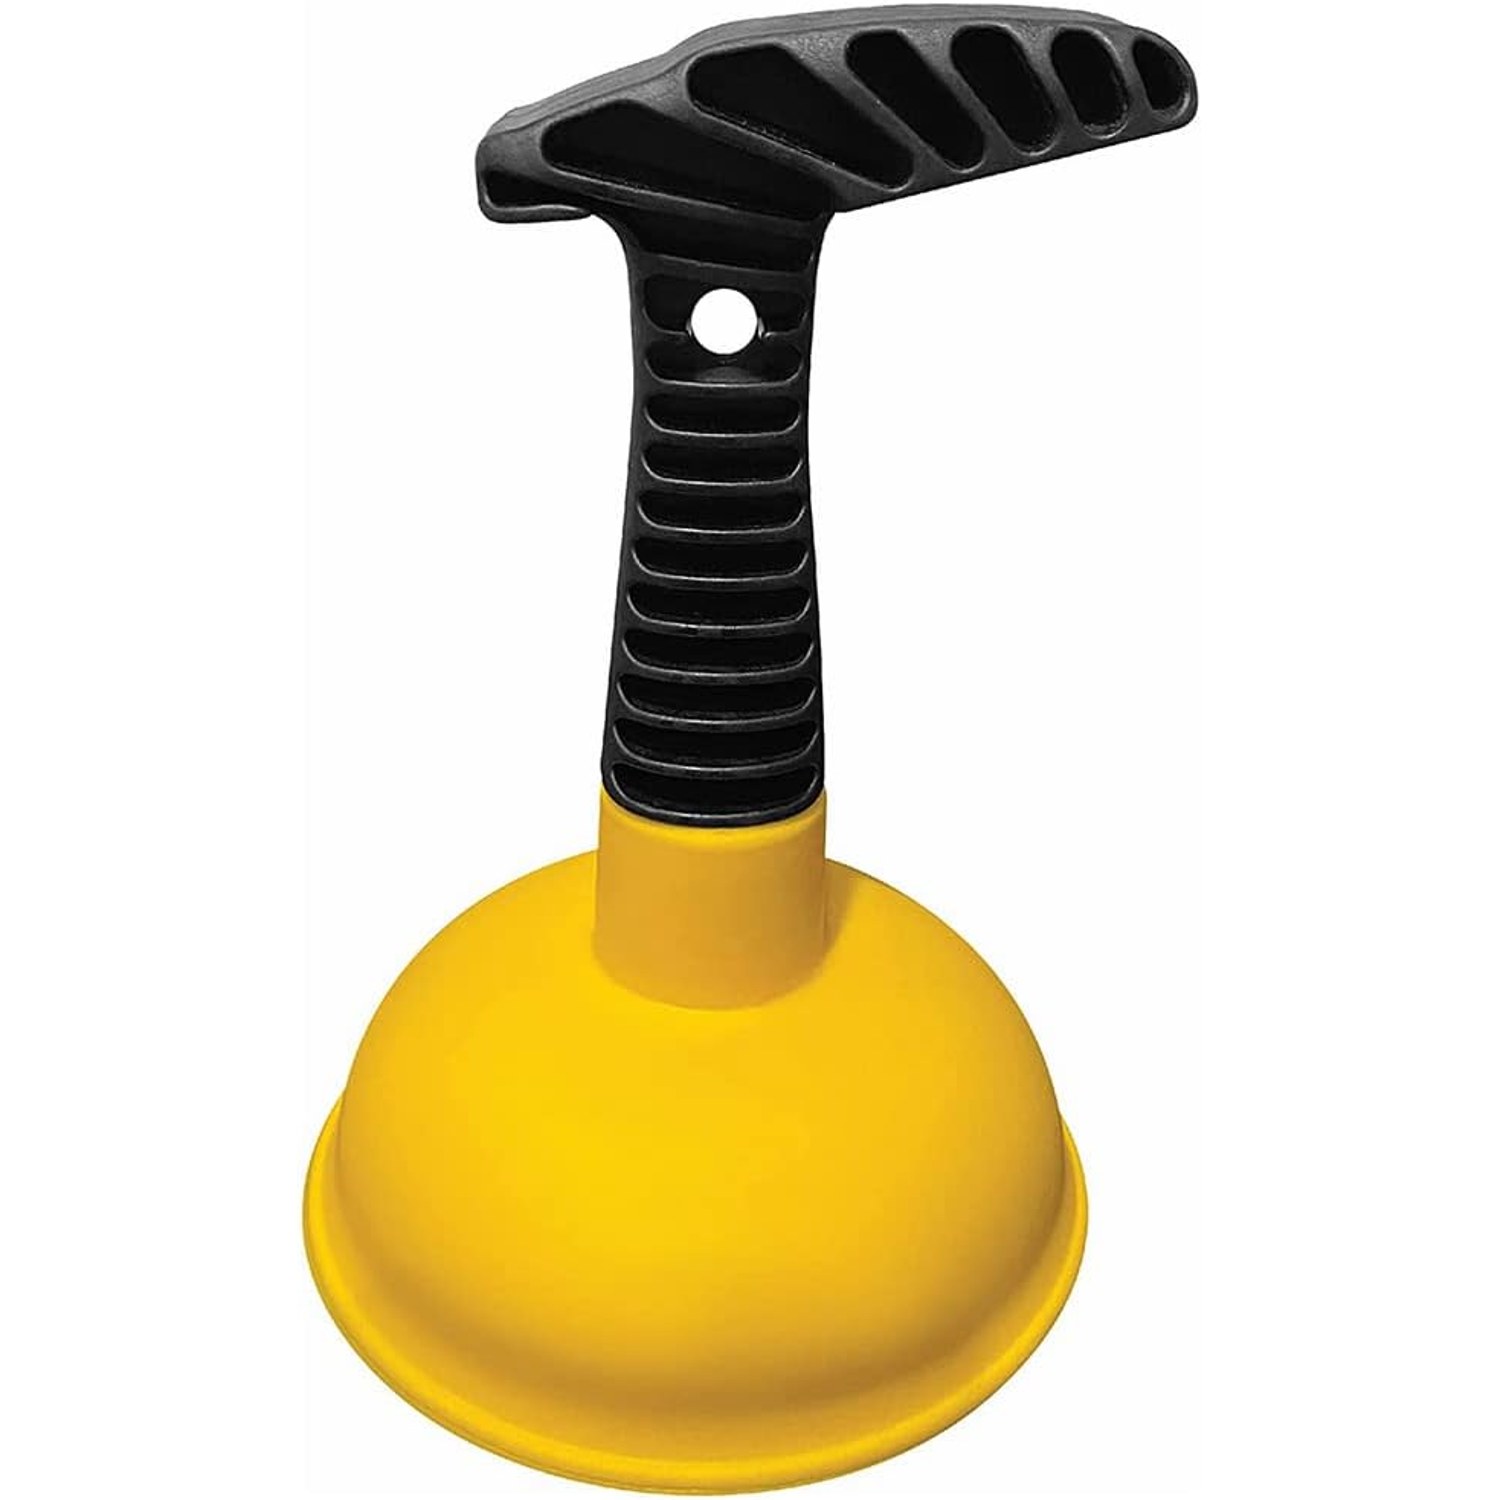
A mini sink plunger is the same idea, scaled to the job. Small cup, short handle, enough grip to hold on when everything is wet. It fits where the big one cannot, and that one difference is what makes it work.
How plunging actually works
A plunger does not suck a blockage out. It moves pressure through water.
When you press down, the rubber cup collapses and pushes the water in the drain downward, which sends a pressure pulse against whatever is stuck. When you pull up, the cup springs back and creates the opposite effect, tugging the clog back toward you. Repeat that quickly and the plug of grease, hair and soap gets worked loose from both sides until it breaks apart and washes through.
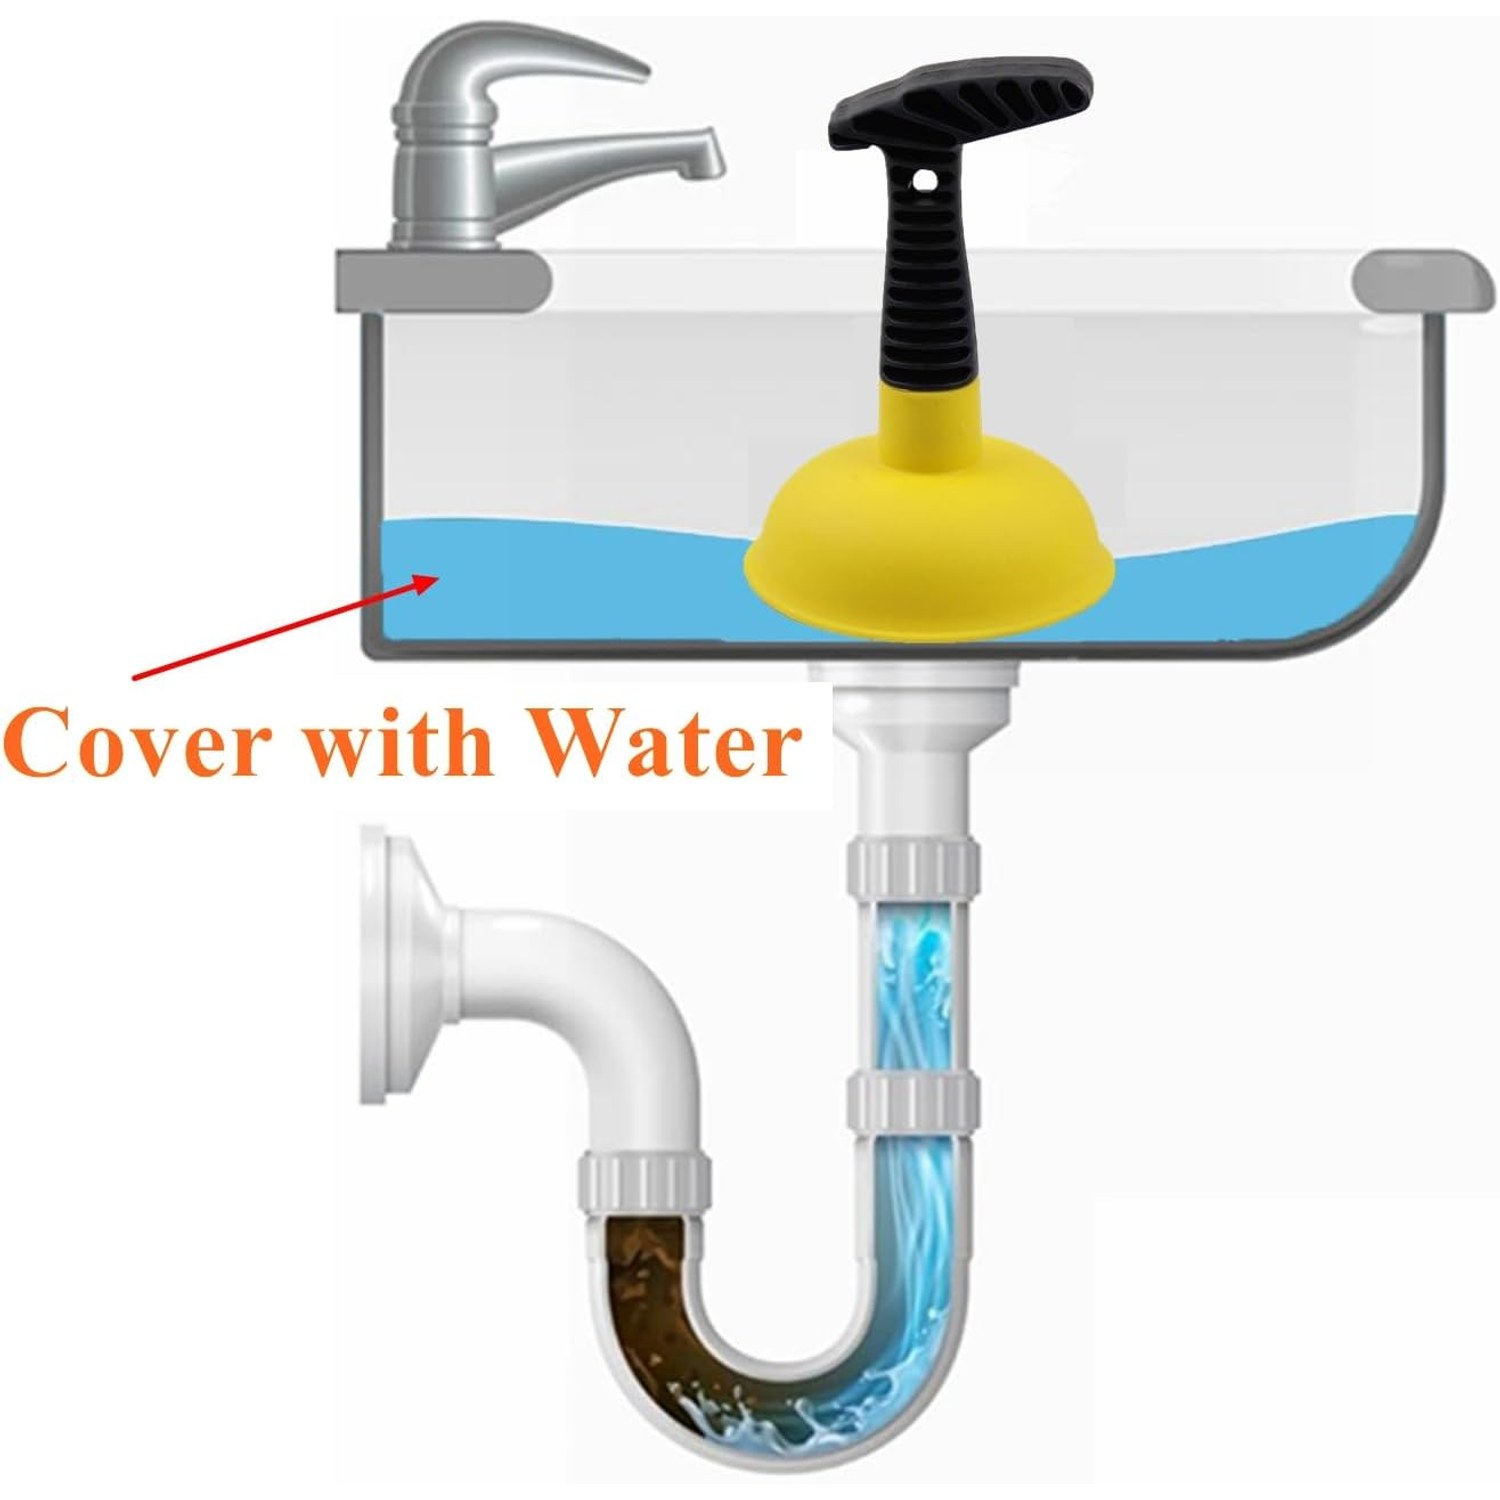
Three things have to be true for any of that to happen. The cup has to seal against the base of the sink. There has to be water covering the cup, because water carries pressure far better than air. And every other opening in that drain system has to be shut, which is where the overflow comes in.
Look at the inside of your sink or tub, just below the rim. That little slot or hole is the overflow, and it connects straight into the drain pipe. Leave it open and the pressure you generate simply escapes through it. Push a damp cloth firmly into it before you start and you will often clear in thirty seconds something you had been fighting with for ten minutes.
Why the short handle matters
The handle on this plunger is short on purpose. Two reasons.
First, clearance. A kitchen mixer faucet with a pull-out spray leaves very little room above the drain. A shower screen does the same. In a bathroom sink, you are working in a bowl that might be twenty centimeters across. A long handle has nowhere to go, so you end up plunging at an angle, which breaks the seal.
Second, control. With a short handle you grip close to the cup, so your force travels straight down into the rubber. With a long handle, some of that effort goes into bending and wobbling the shaft. Short, fast pumps from close range do more useful work than big slow ones from far away.
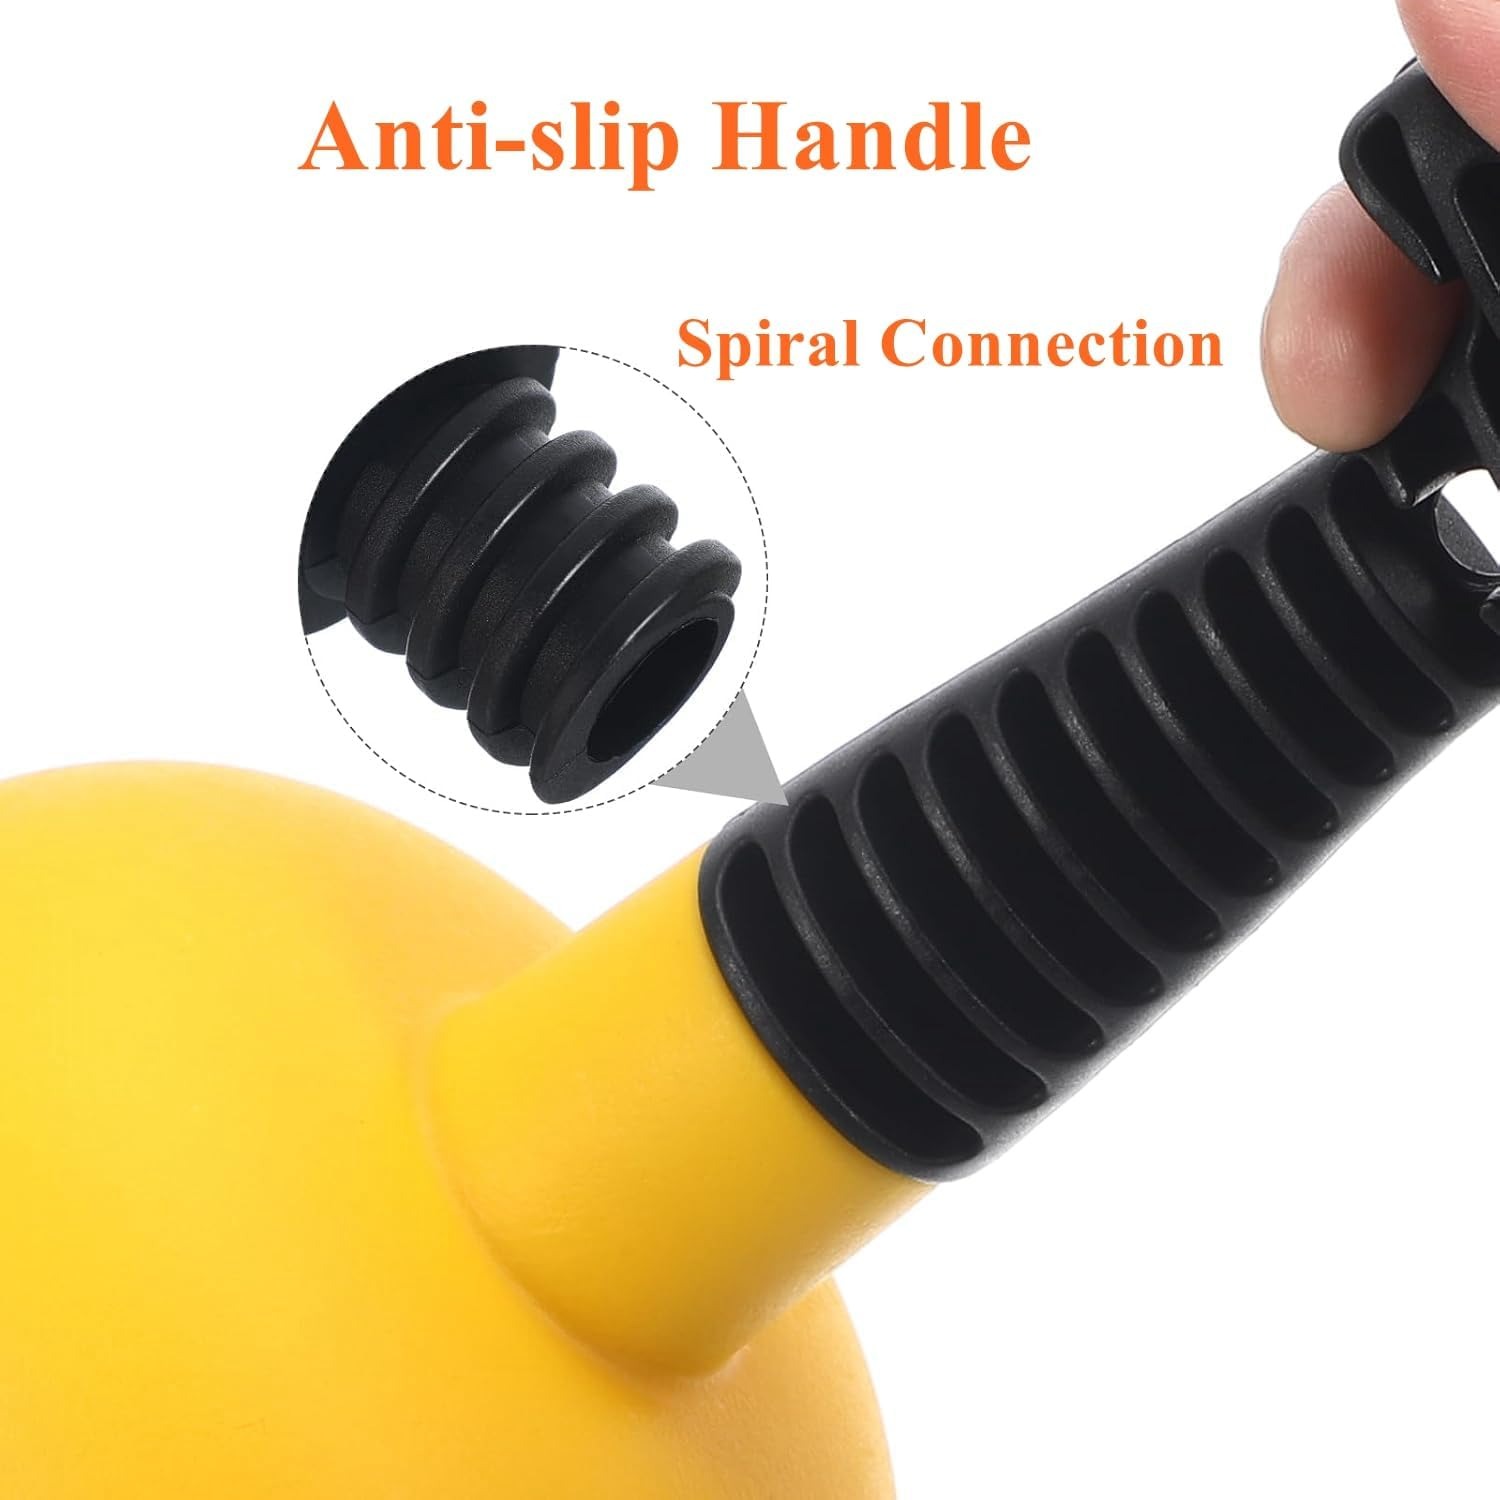
The grip is textured for a practical reason too. By the time you are plunging, your hands are wet, the sink is wet, and often there is a film of soap or grease on everything. A smooth handle slips. A non-slip handle plunger stays where you put it, which means less fatigue and fewer knuckles against the faucet.
Who it suits
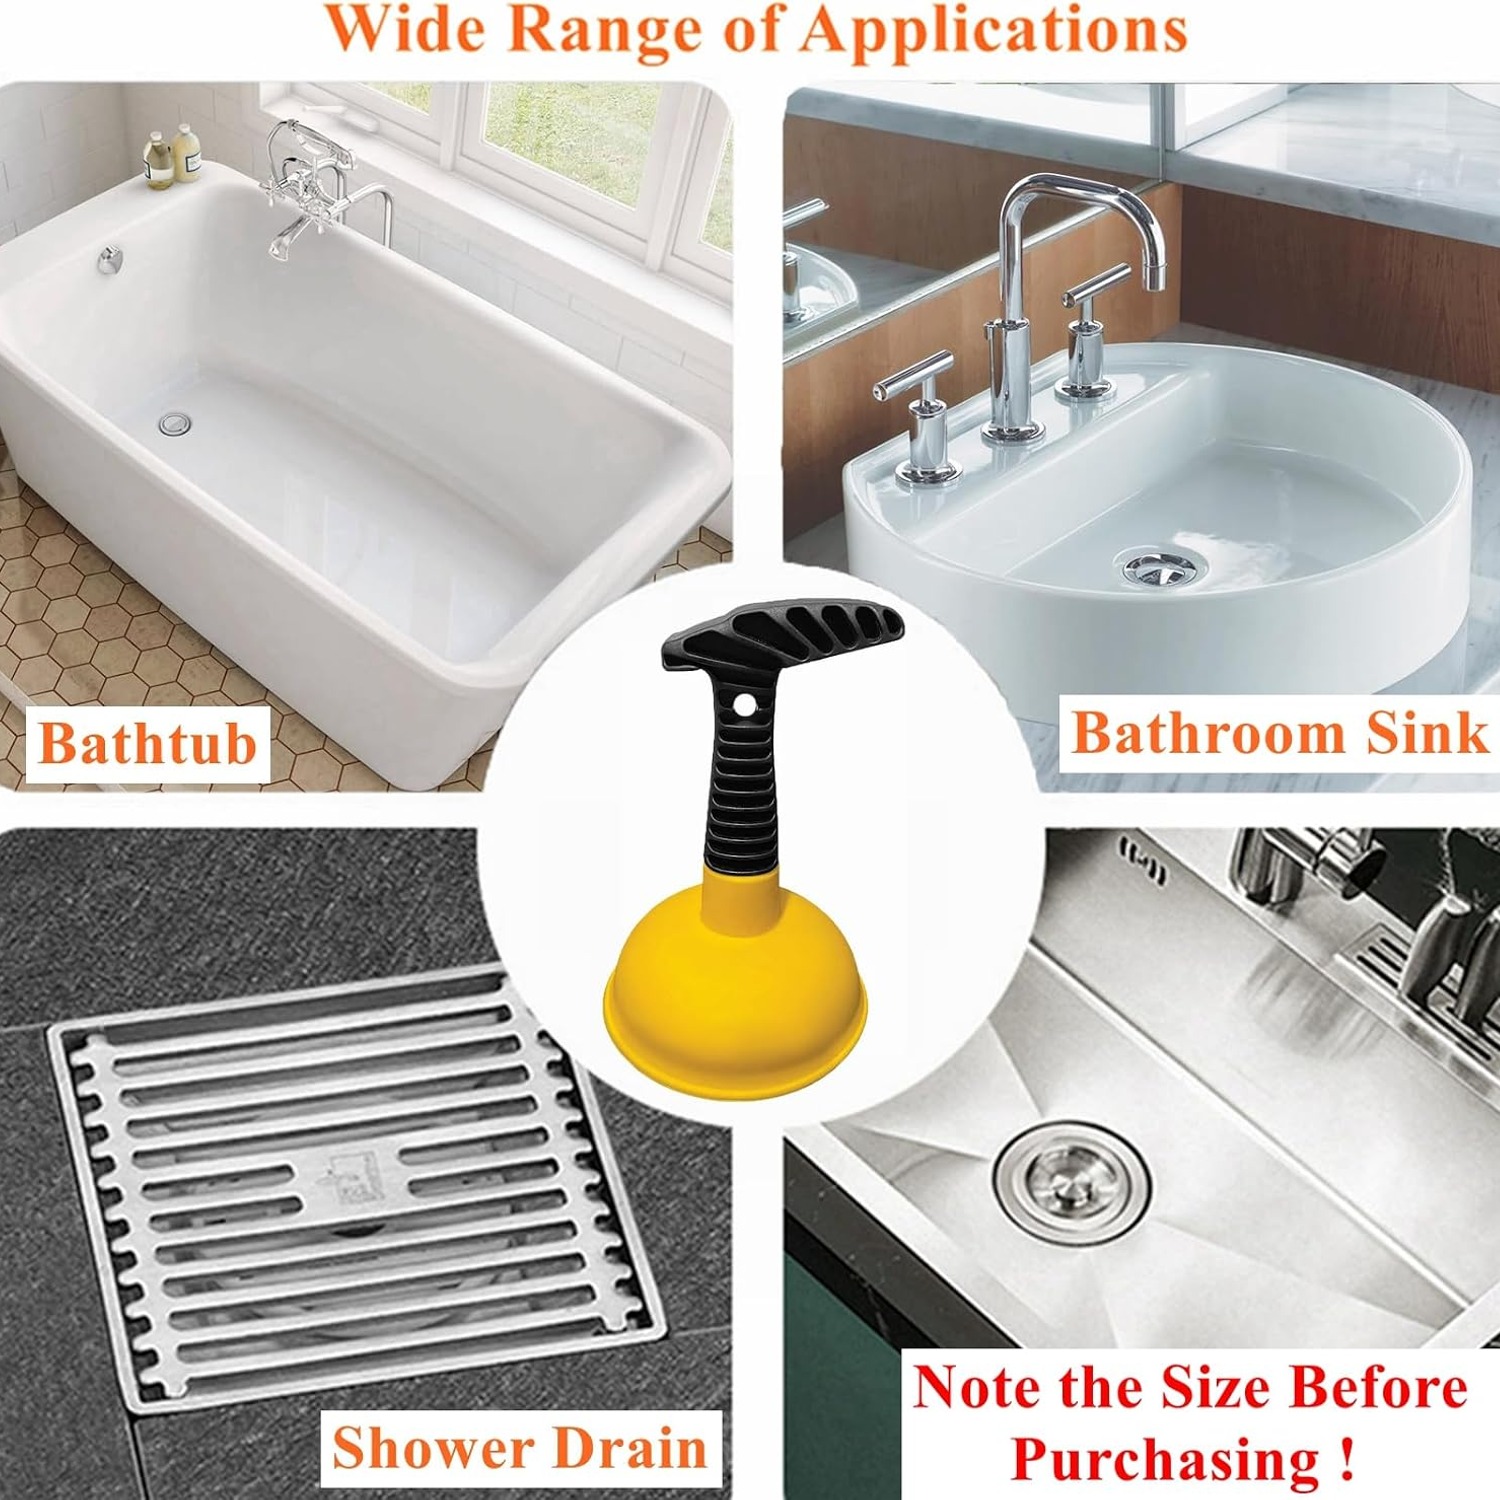
If you cook, you will need this eventually. Kitchen drains clog from the inside out as warm fat goes down the drain opening, cools, and sticks to the pipe wall. Each wash adds another layer until the opening is half its original size. A small plunger for kitchen sink use is the first thing to try, and most of the time it is the only thing you need.
Bathrooms clog differently. Hair binds with soap and toothpaste into a mat that sits right under the drain opening, which is good news, because it is close enough to reach. A sink plunger handles that easily.
Shower pans and tubs are the ones people put up with far too long. A tray that takes a minute to empty is annoying every single day, and it is usually a five-minute fix. The flat base of a tray is ideal for sealing a small rubber cup.
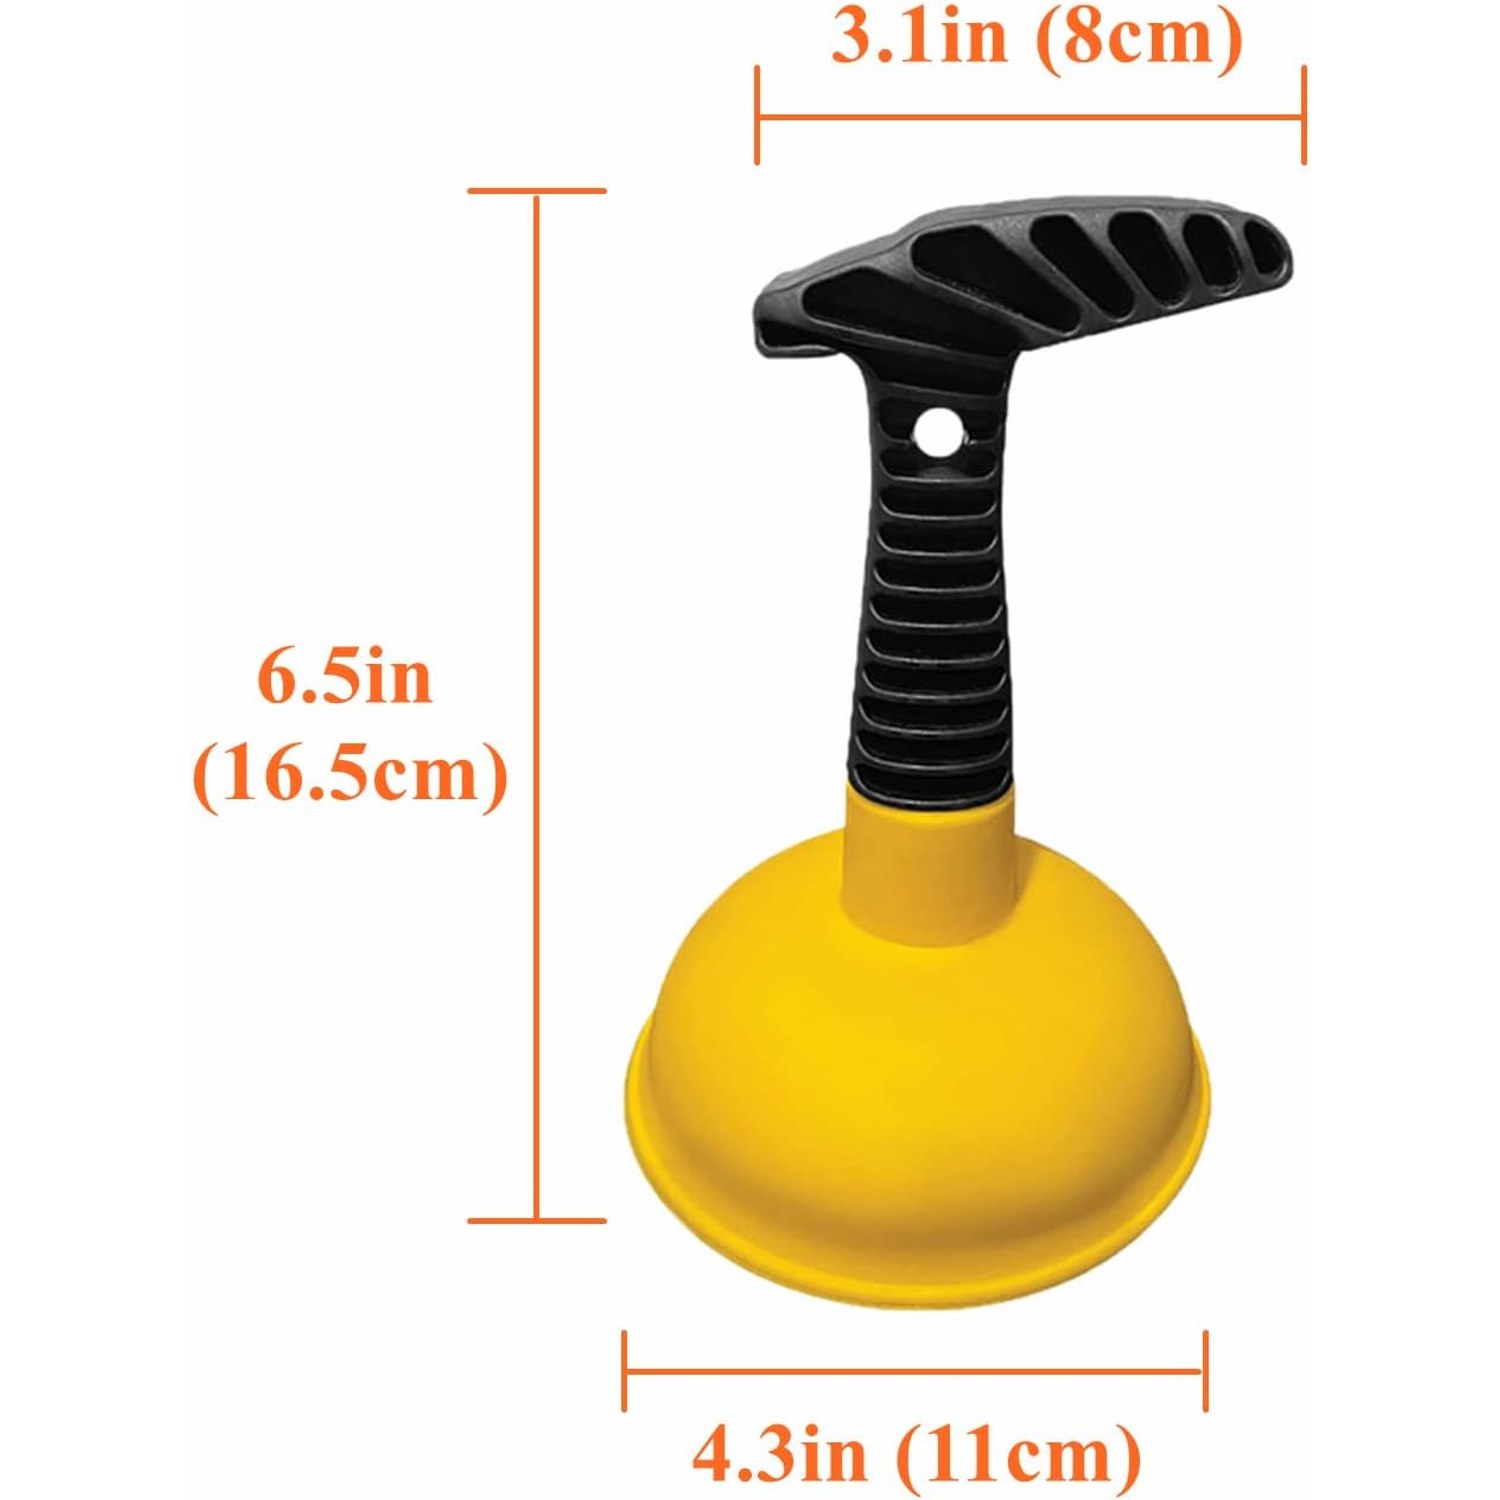
Then there are the places where storage is tight. Apartments, RVs, boats, vacation rentals. A compact drain plunger weighs about 2.46 ounces and hangs on a hook. It costs you nothing in cabinet space and saves you a call-out fee the first time it works.
Choosing the right one
A few things are worth thinking about before you buy any small plunger.
Cup size against drain size. The cup needs to be big enough to cover the drain hole completely, with rubber touching the flat surface all the way around. Too big and it will not sit flat in a small sink. Too small and it will not cover the hole. Sink-scale cups like this one suit the standard drains in kitchens and bathrooms.
Rubber quality. Soft, flexible rubber seals better than stiff rubber, and the important part is that it returns to shape. A cup that stays squashed after a few presses stops pulling on the upstroke, which is half the action gone.
Handle grip. Easy to overlook and immediately obvious the first time you use it in a wet sink.
Hygiene. Keep sink plungers and toilet plungers completely separate. Different shapes, different jobs, and nobody wants a crossover. If your household is going to be casual about this, buy a second one in a different color and store them apart.
Using it properly, step by step
Fill the sink with a few centimeters of water, enough to cover the cup. Block the overflow with a damp cloth. If you have a double sink, stop the second drain with a plug or another cloth.
Place the cup over the drain and press down gently first, to push out the trapped air and set the seal. Then pump with short, firm strokes, maybe ten or fifteen of them, keeping the cup in contact with the base the whole time. Pull straight up on the last stroke and watch the water.
If it drains, run the hot faucet for thirty seconds to flush the loosened debris through. If it is still slow, reseat the cup and go again. Two or three rounds is normal for a stubborn kitchen drain.
If nothing has changed after several attempts with a good seal, the blockage is probably further along the pipe than a plunger can reach. That is the point to look at the trap under the sink or bring in a drain snake. Keep chemical drain cleaners as a last resort, and never plunge straight after using one.
Looking after it
Rinse the cup under warm water after every use. If it has been in a greasy kitchen drain, a squirt of dish soap and a quick scrub around the rim will keep it from smelling. Wipe it dry.
Store it somewhere dry and away from direct sunlight, since heat and UV are what harden rubber over time. Do not leave it squashed under something heavy, because a cup that sets in a deformed shape will never seal properly again. Hung on a hook or sitting upright on a tray is ideal.
Give the rim a quick look before each use. Grit stuck to the rubber is the only realistic way a soft plunger could mark a sink surface, and it rinses off in seconds.
The short version
A toilet plunger in a kitchen sink is the wrong tool, and most people blame the clog when they should blame the fit. A mini sink plunger with a short, non-slip handle gets under the faucet, sits flat on the base, and puts your effort where it belongs.
Keep water over the cup. Block the overflow. Pump in short, quick strokes. Rinse it, dry it, hang it up.
It is a small, cheap tool that solves a problem everyone runs into sooner or later, usually at an inconvenient hour. Having one in the cabinet before you need it is the whole point.