
The complete guide
How to Choose and Install a Pop Up Drainage Emitter
The soggy patch that never dries
Most yards have one. A low corner near the fence, a strip beside the path, a patch under the downspout that stays spongy for three days after rain. You mow around it. You put a stepping stone over it. Eventually the grass gives up and it turns into mud.
That patch is usually telling you something simple. Water is arriving faster than the ground can take it, and nothing is moving it along. Sometimes there is already a buried pipe doing half the job, running from a downspout or a catch basin and then just stopping underground. Water travels down that pipe, hits the end, and pushes up through the soil. The pipe did its part. The exit was never finished.
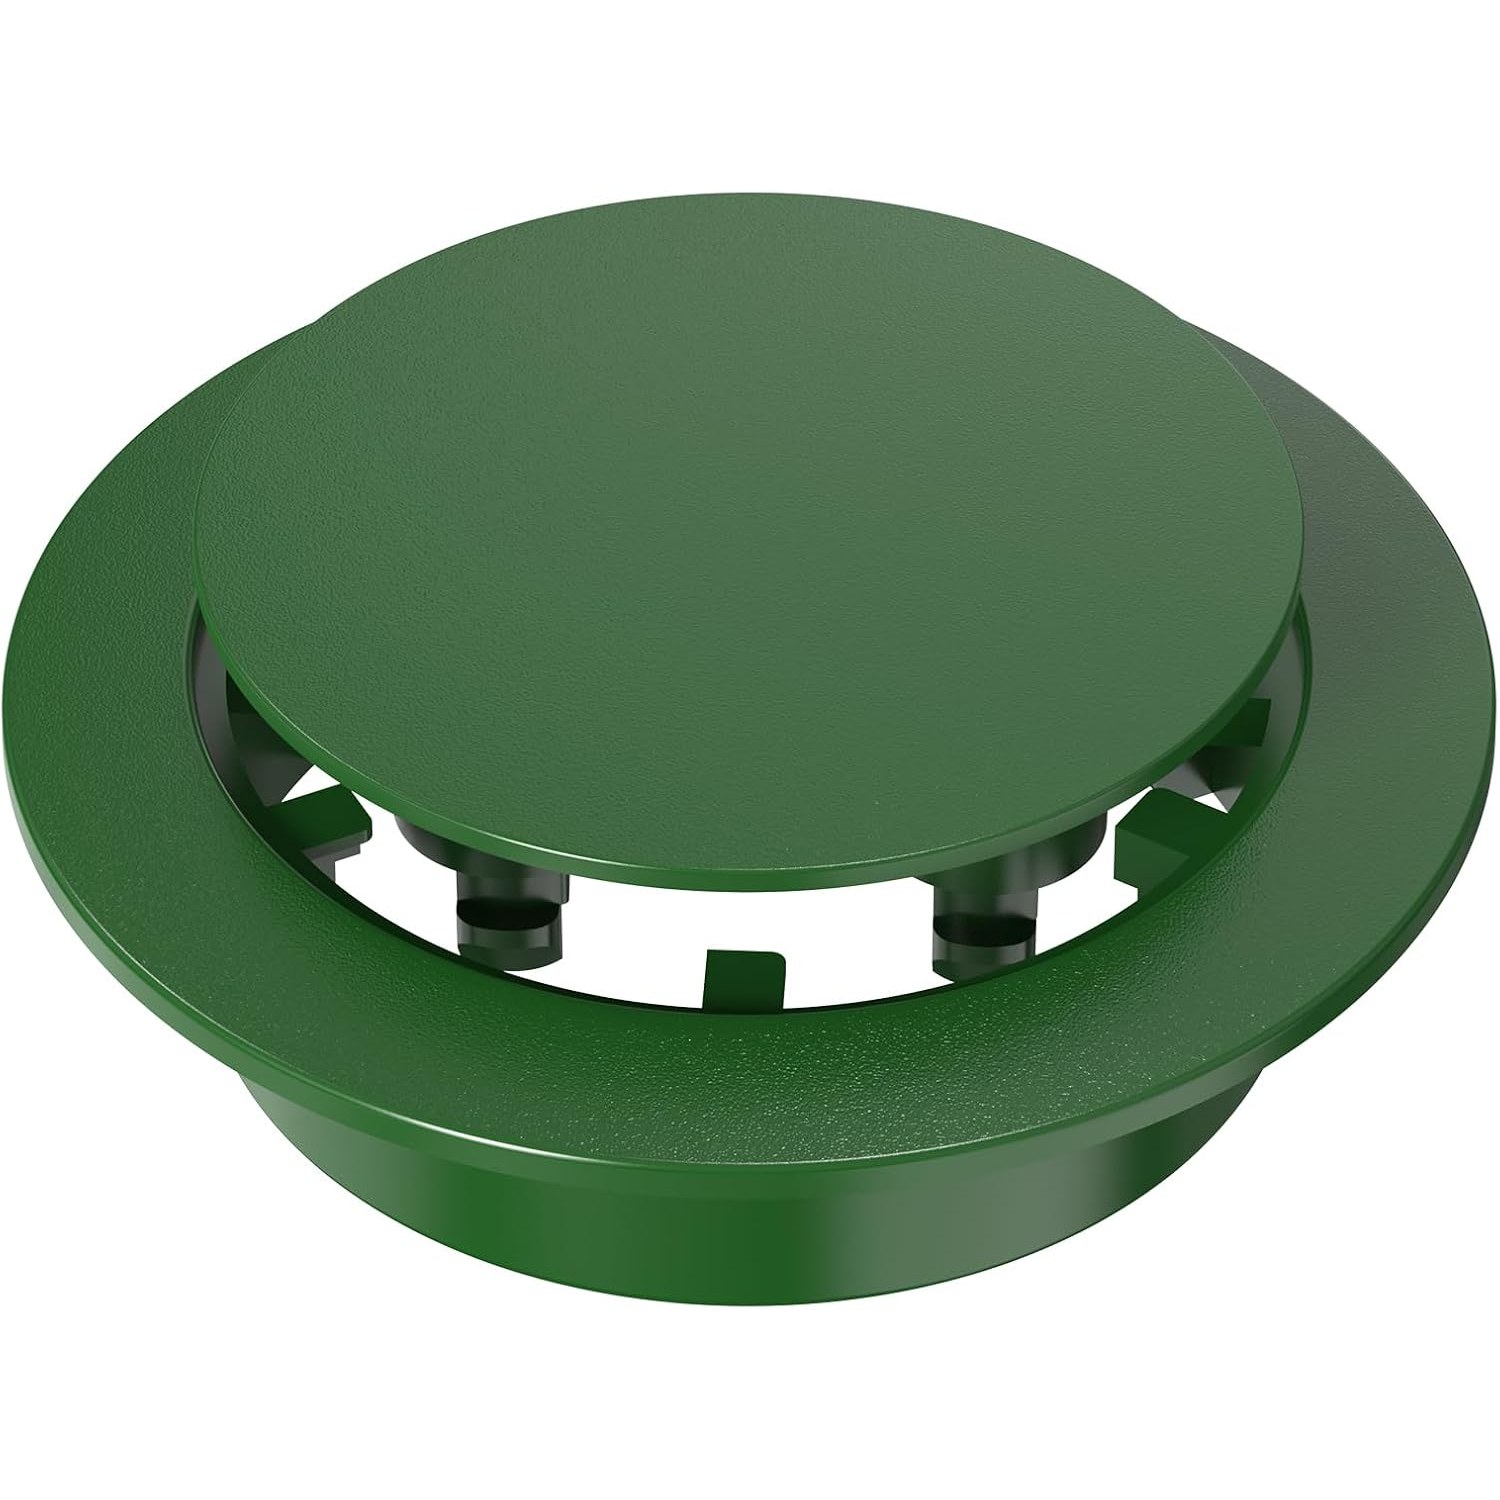
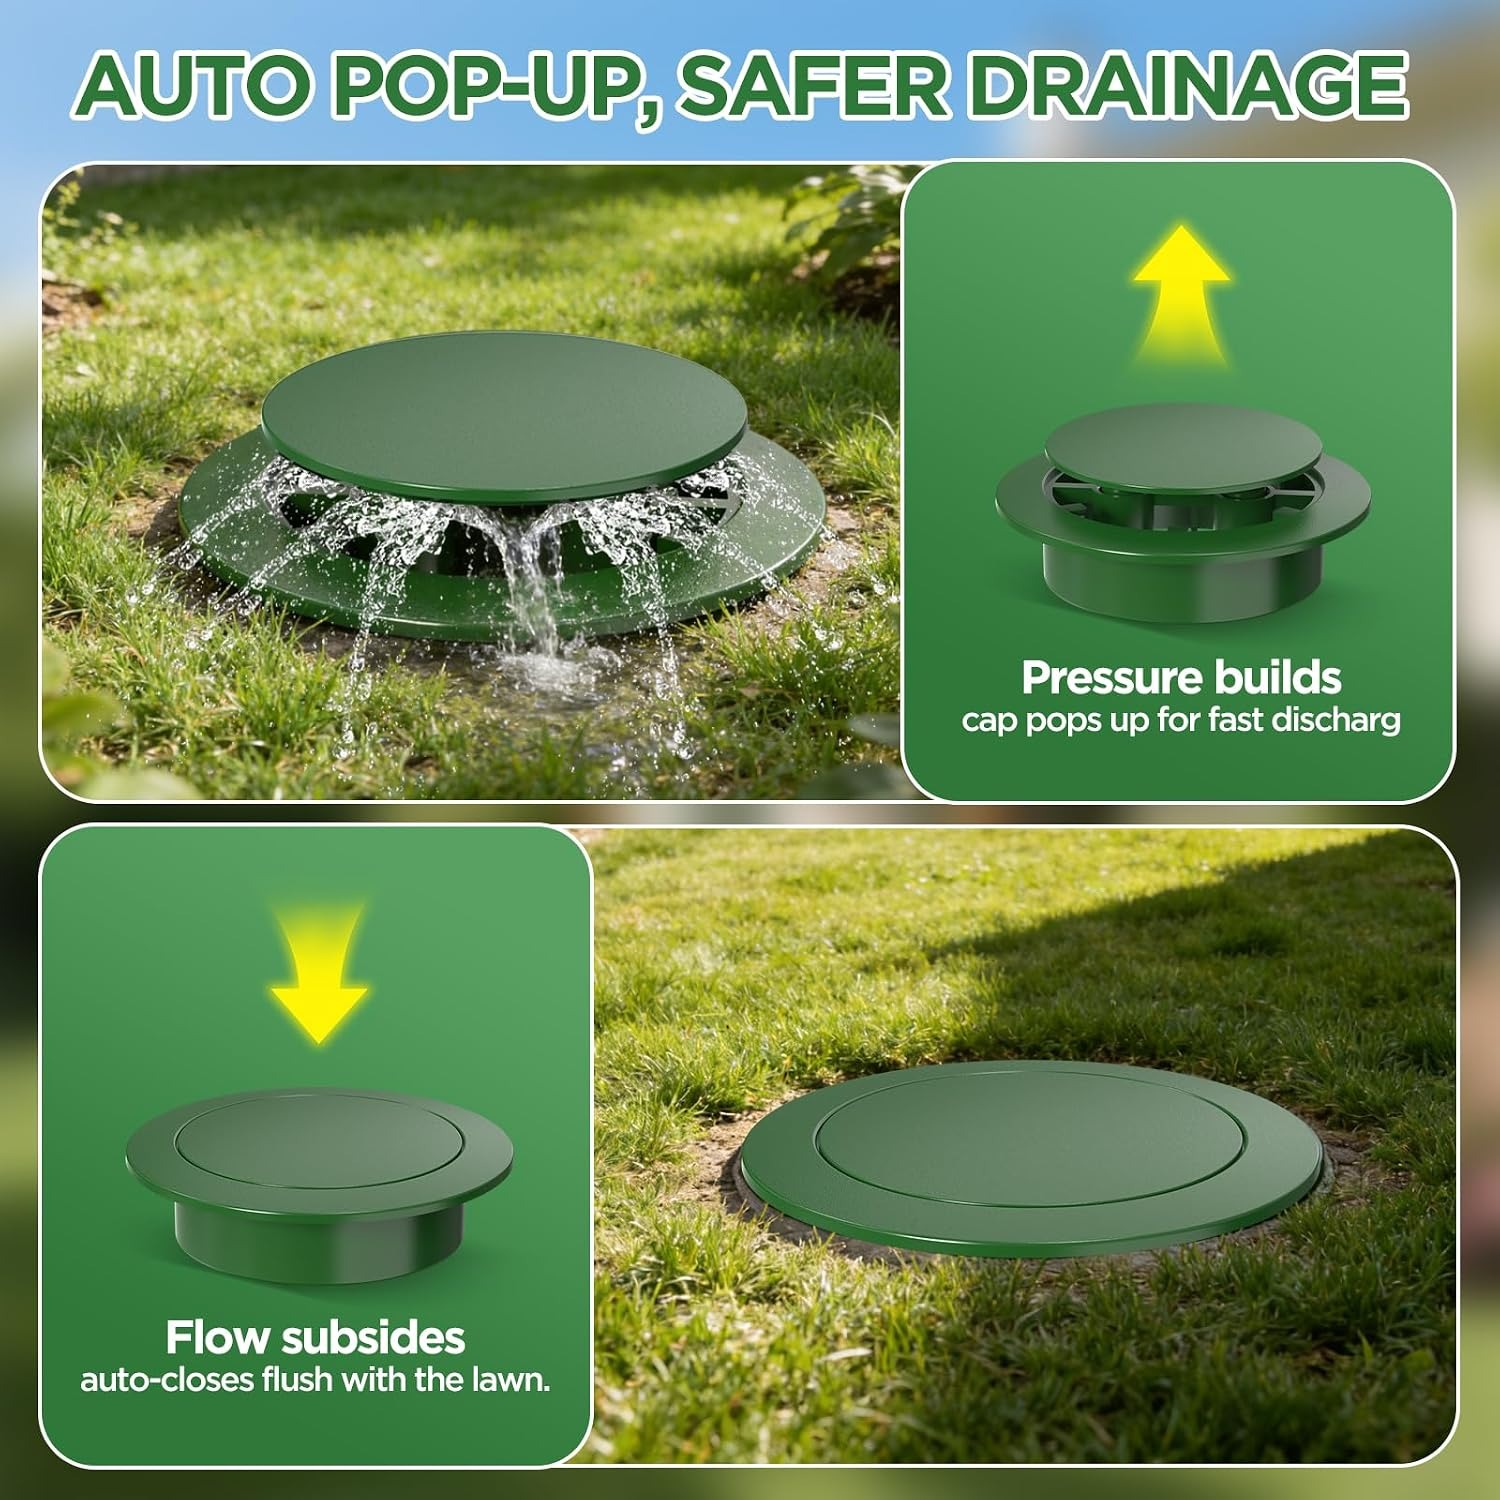
A pop up drainage emitter finishes it. It sits at the end of the line, flush with the lawn, and acts as a lid that opens on demand. Water pressure lifts it, the runoff spills out onto the surface where it can spread and soak away, and when the flow stops the lid settles back down.
How the pop up part works
The basic idea has been around for decades. A body sits buried on the end of the drainage pipe, and a hinged or sliding top caps it off. The difference between a good emitter and a frustrating one is almost always the mechanism.
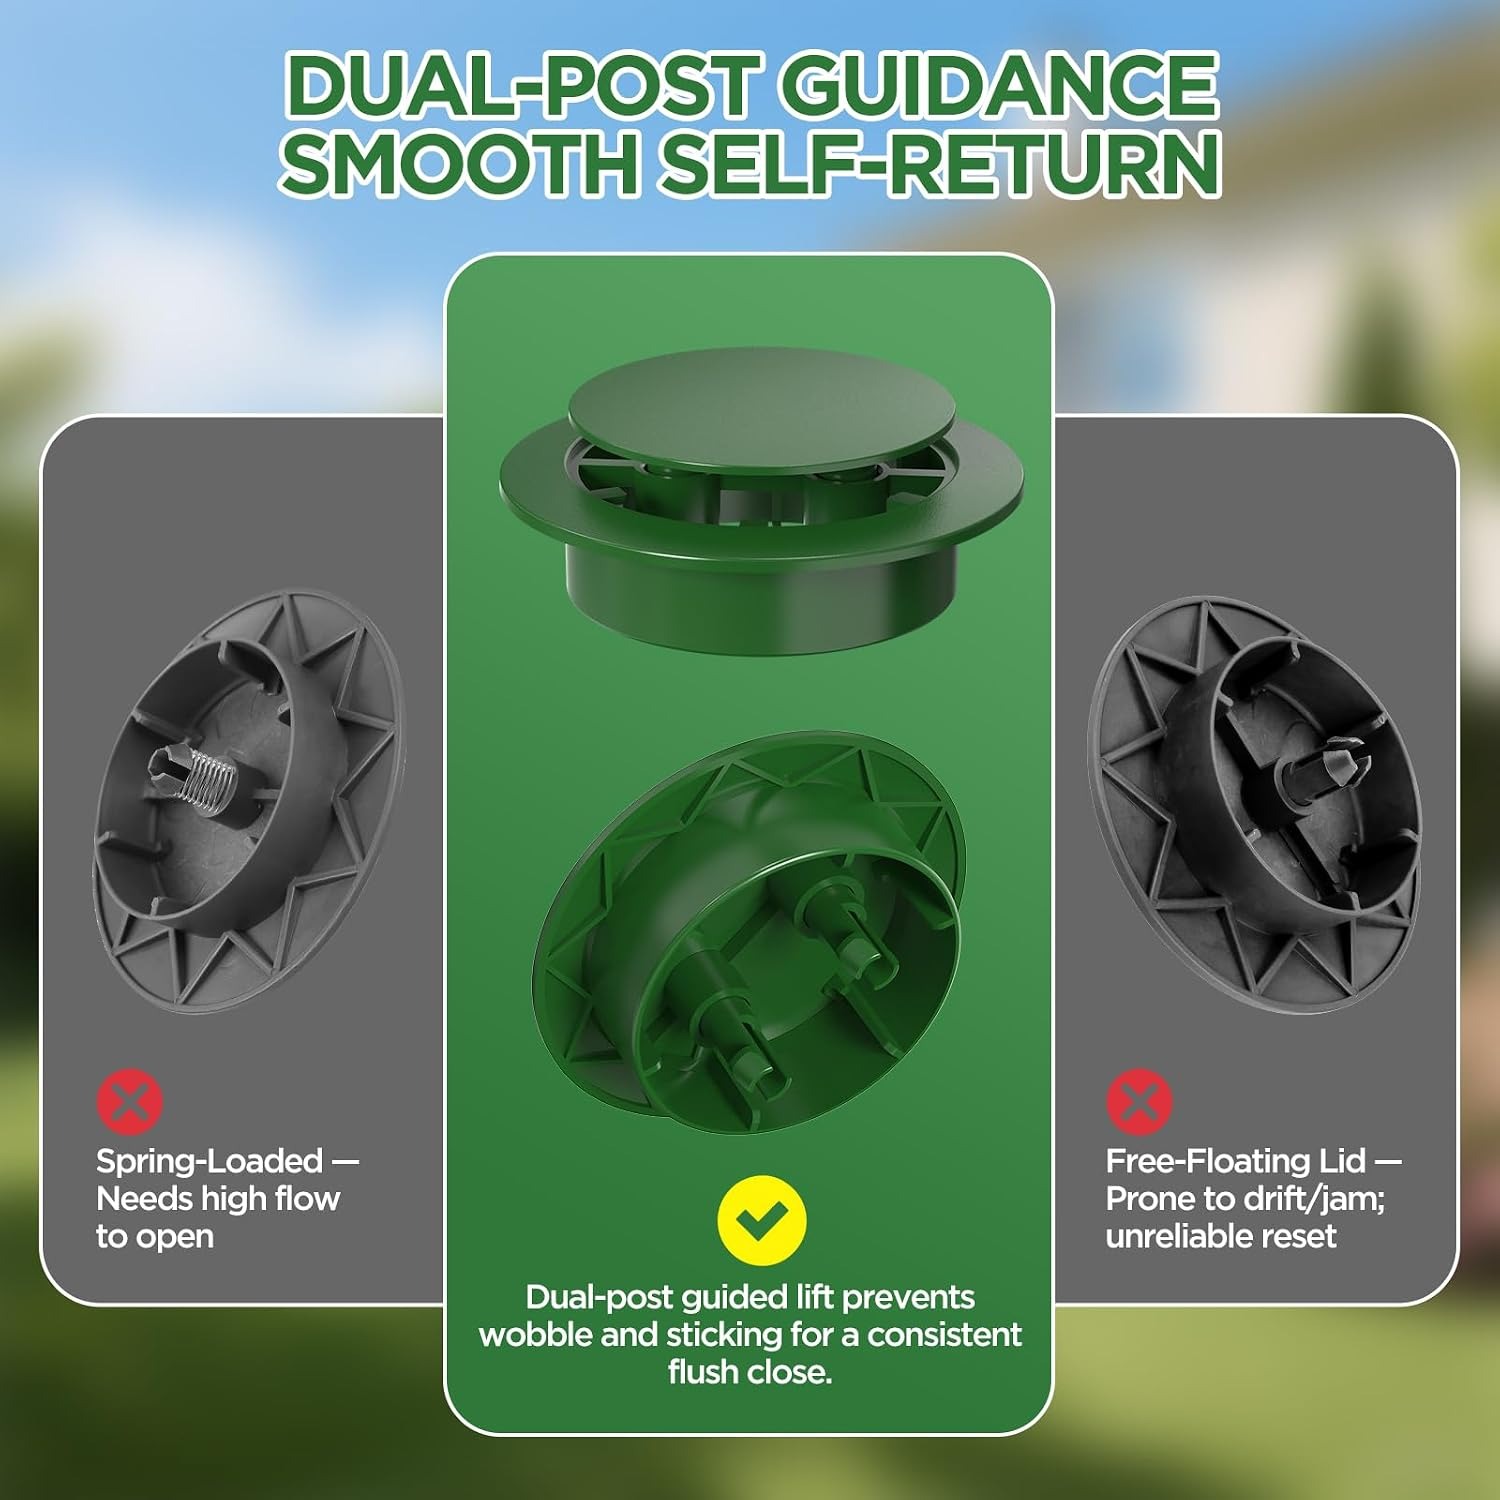
The traditional approach uses a coil spring to hold the lid shut. That works on day one. The problem shows up two seasons later, when the spring has collected grit and started to corrode. A stiff spring needs more water pressure to beat it, so the lid stops opening on light rain. Water backs up the line instead. Or the spring loses tension entirely and the lid props itself ajar, which turns the emitter into a funnel for leaves.
This one uses a dual-rod design with no coil spring at all. The lid lifts with less water force behind it and drops back in a controlled way. There is simply less to seize up. For a part that lives in wet soil and gets ignored for months at a time, that is the right trade.
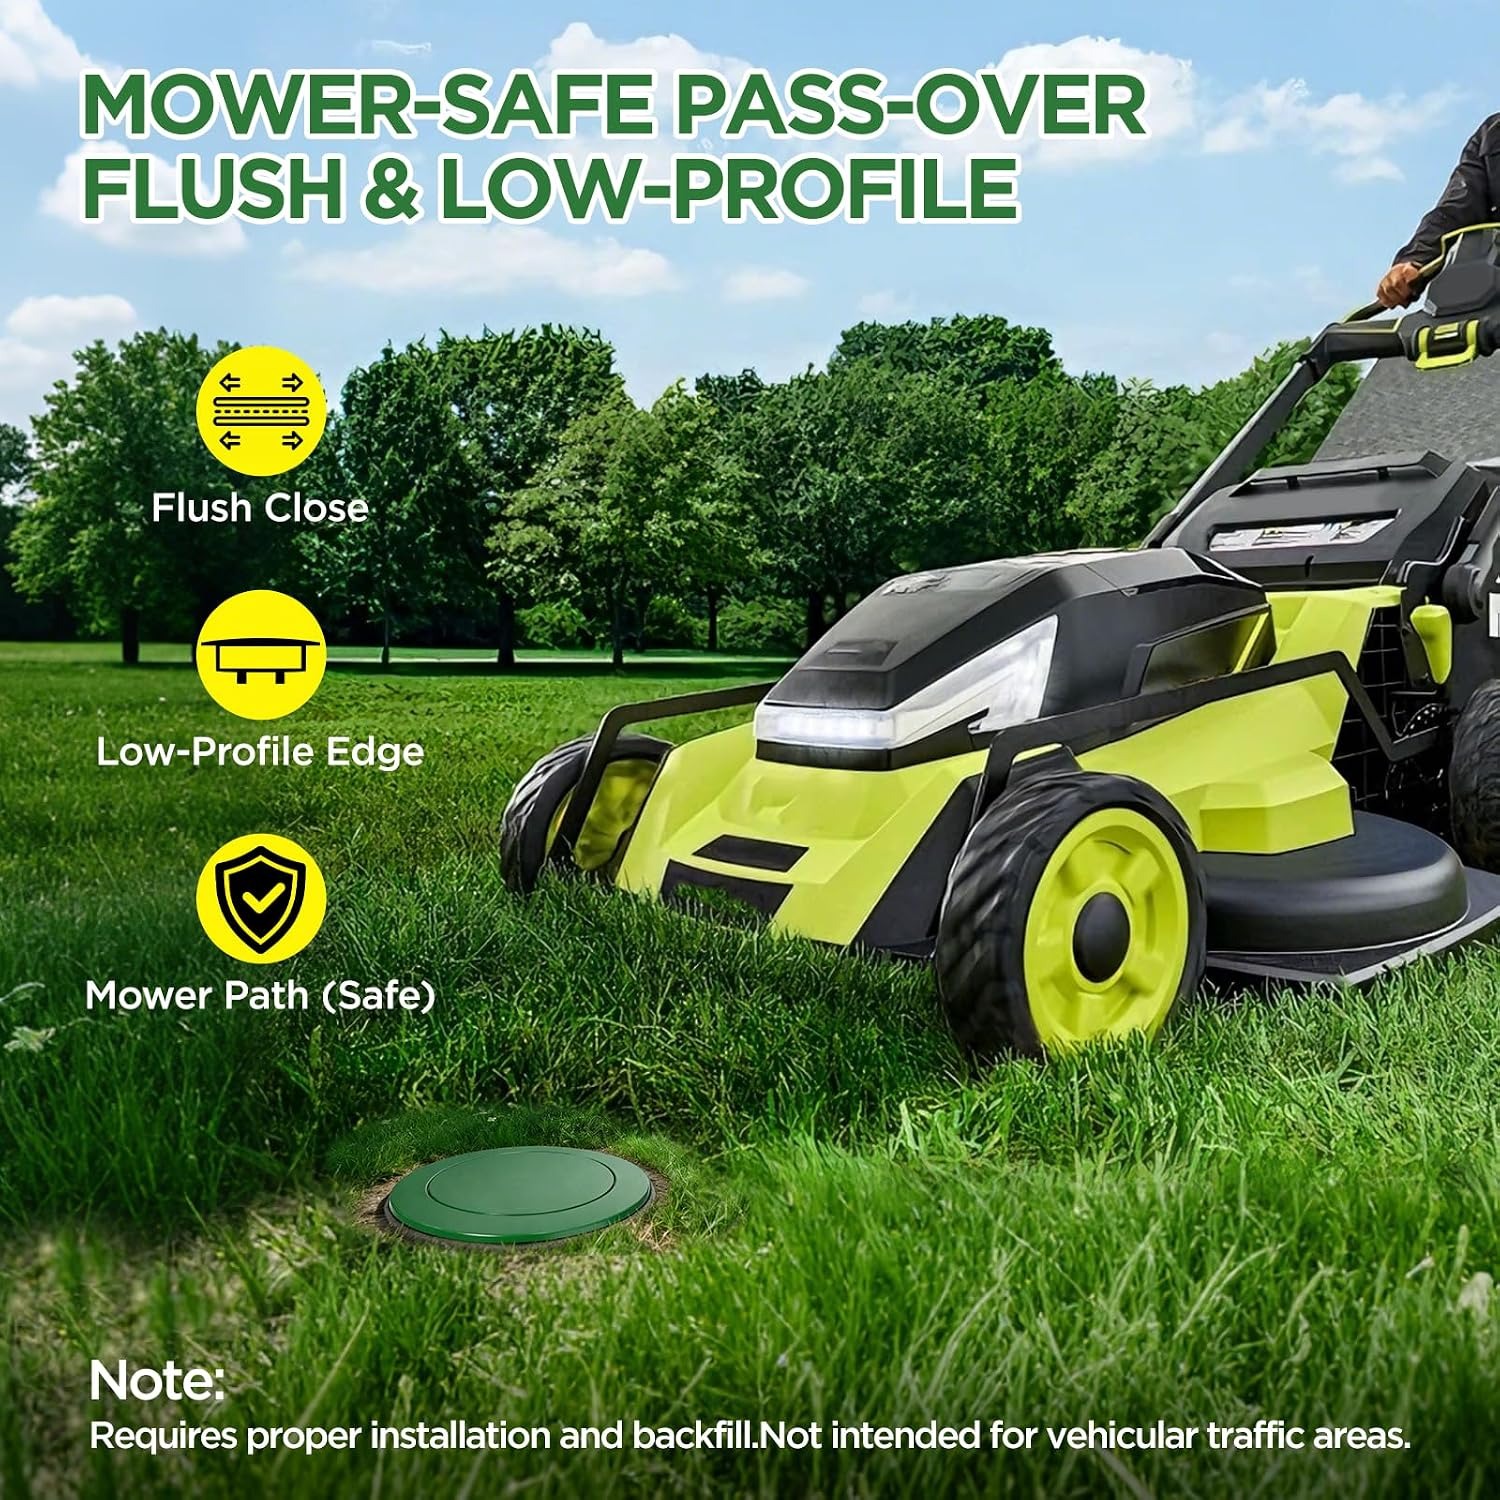
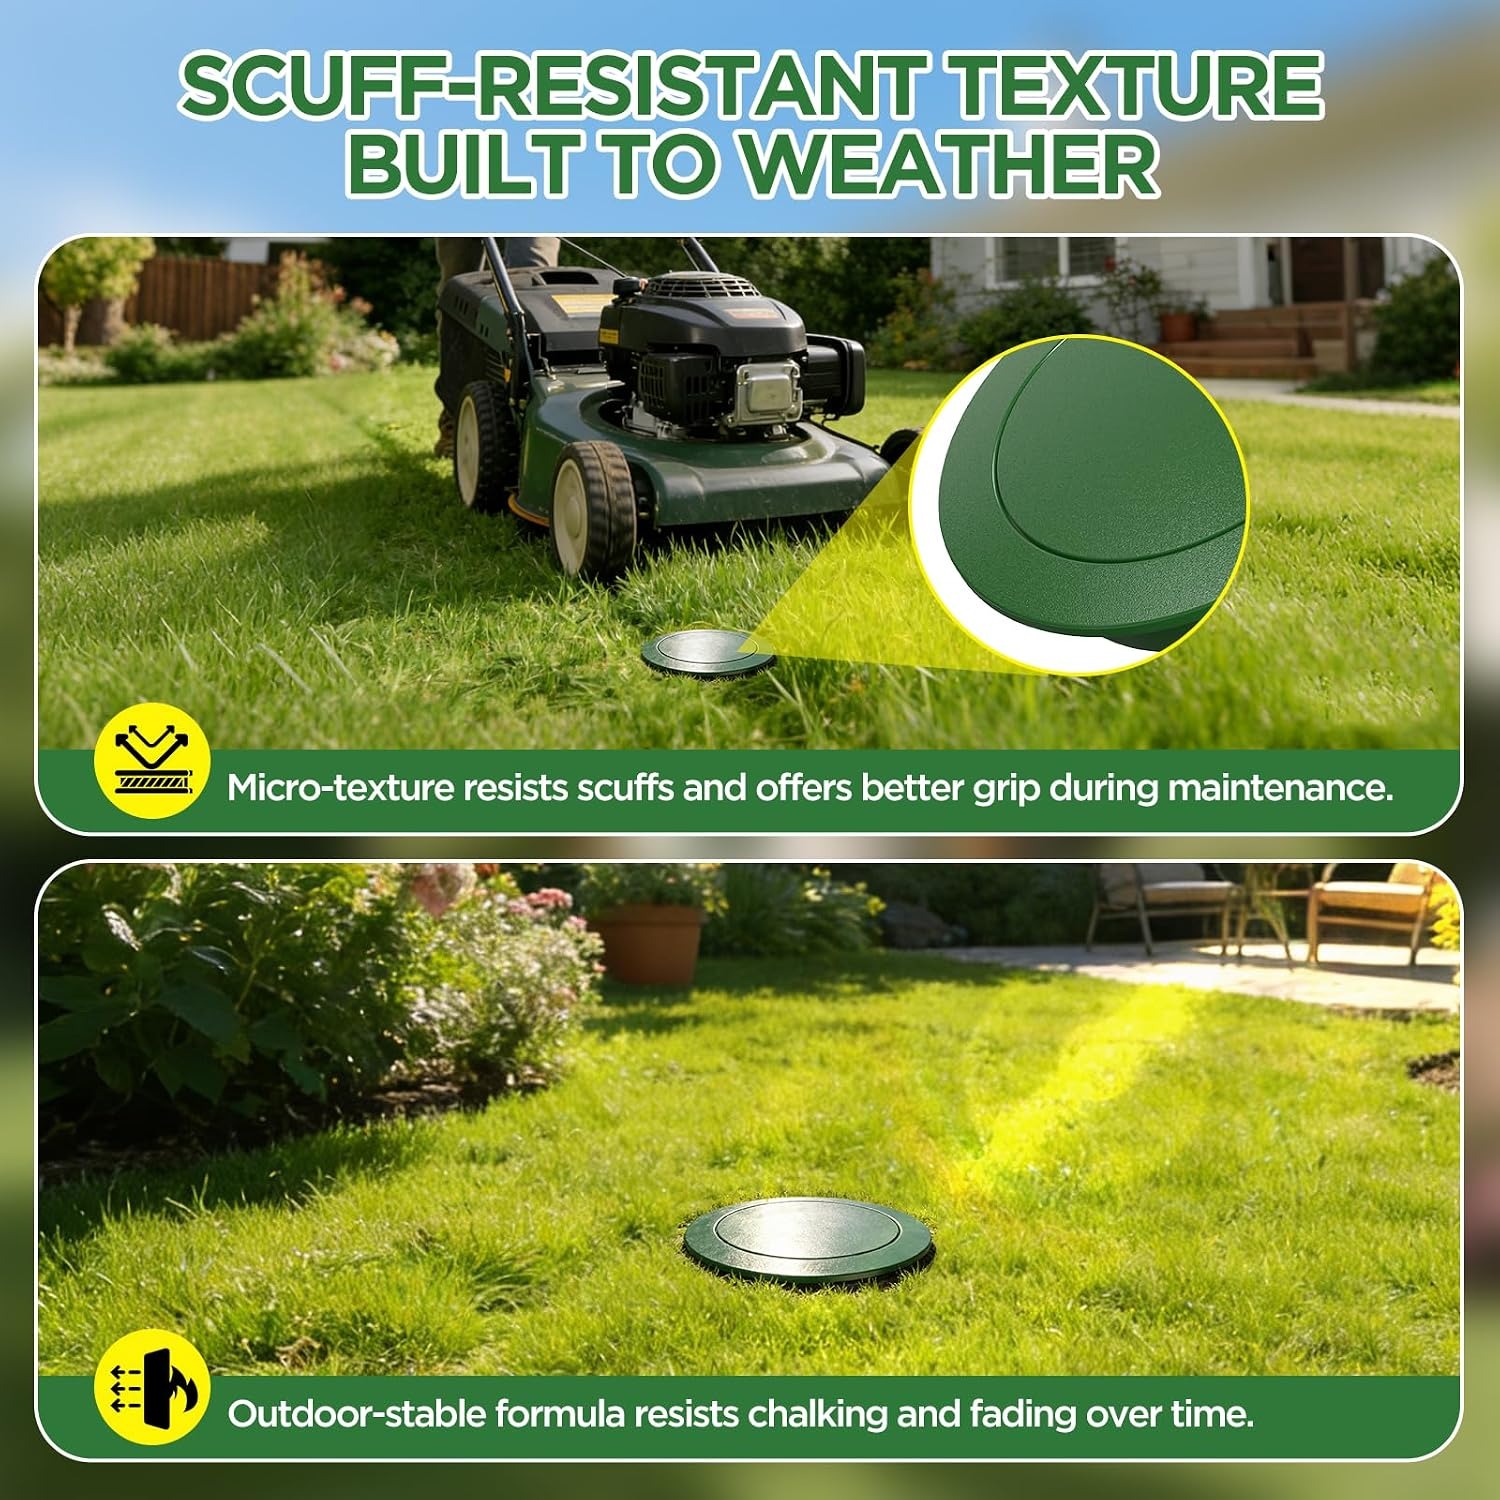
The top finishes flush or very close to flush with the ground. The surface is textured, which helps it resist scuffing from boots, wheelbarrow wheels and mower decks. Over a season or two, turf grows up to the rim and the thing mostly disappears.
Getting the pipe fit right
This is where orders go wrong, so it is worth slowing down.
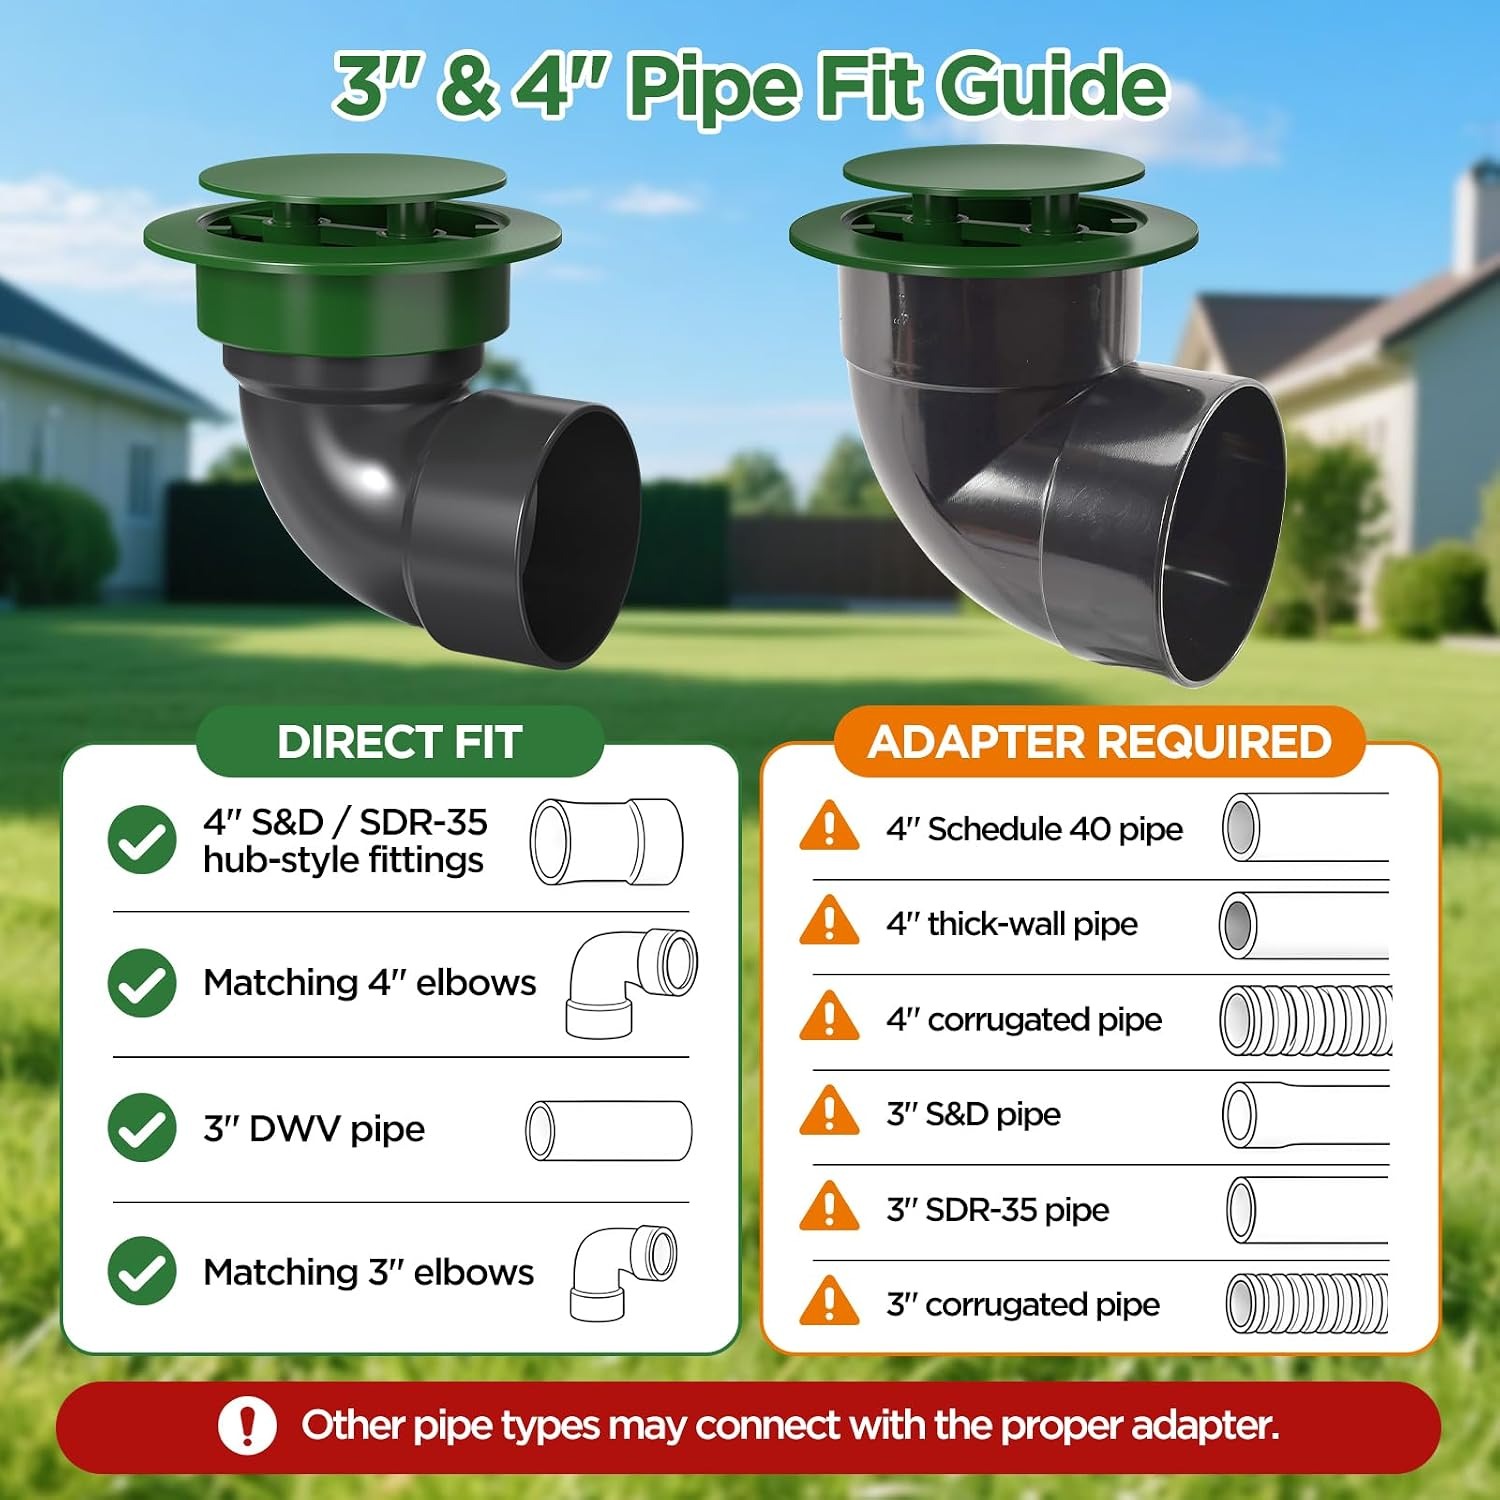
Drainage pipe is not one standard. The 4 inch pipe in your yard might be S and D (also called SDR-35), the thinner-walled sewer and drain pipe common in residential drainage. It might be Schedule 40, which is thicker-walled and a different outside dimension. It might be corrugated black pipe, which is a different thing again.
This emitter fits 4 inch S and D or SDR-35 hub-style drain fittings and the matching 4 inch elbows. The 3 inch side fits over standard 3 inch DWV pipe and matching 3 inch elbows. It is not a direct fit for 4 inch Schedule 40, thick-wall pipe, or corrugated pipe, and it is not a direct fit for 3 inch S and D, SDR-35 or corrugated pipe. Any of those will need the correct adapter in between.
Before you order, dig down and look at the pipe end. Measure the outside diameter, note whether the end is a plain spigot or a hub, and check whether the wall is thin or thick. If you are running brand new pipe, you can simply buy the type that matches and skip adapters entirely. If you are retrofitting an older line, budget for one adapter fitting and you will save yourself a second trip.
Who this suits
Anyone with a downspout emptying onto the lawn is a candidate. A single roof section can throw a surprising volume of water at one spot in a storm, and the usual plastic downspout extension just moves the puddle a meter further out. Running pipe to a low point and finishing it with an emitter moves that water properly.
It also works at the end of a french drain. The perforated section collects water along its length, then a solid section carries it away, and the emitter releases it at the far end. Same story for a sump pump discharge line, where the goal is getting water well clear of the foundation before it surfaces.
Where it does not suit is anywhere the lid will take vehicle weight. Keep it out of driveways and parking areas. It also will not help if the yard has no fall at all. An emitter releases water, it does not pump it. If your low point is genuinely the lowest ground available and water has nowhere to spread, you are looking at a dry well or a different solution.
Installing it without regret
Start by confirming the fall. Water needs to run downhill along the whole pipe run, and you want the emitter at the bottom of that run. A drop of around 25mm for every 3 meters of pipe is the usual target. Less than that and silt settles in the line.
Dig the hole for the emitter body deep enough that the top finishes level with the turf or a hair below. This is the single step people rush and then regret, because a lid sitting 20mm proud of the grass is a mower magnet and a stubbed toe waiting to happen.
Push the emitter onto the fitting. Check the lid still lifts freely with your hand before you backfill, because it is a lot easier to adjust now than after the soil goes back. Then backfill around the body in layers, firming as you go so the unit does not settle and tilt over the following months.
A handful of gravel spread under the discharge area helps the released water fan out rather than cutting a little channel through the lawn. It is optional, but it keeps the finished job looking tidier.
Finally, run a hose down the pipe from the upstream end and watch the lid. It should lift, let the water out, and close again. If it does not open, the grade or the fitting is the thing to check, not the emitter.
Keeping it working
Twice a year is enough for most yards. Lift the top by hand, reach in, and pull out whatever has collected. You will usually find grass clippings, a bit of silt and some leaf fragments. Rinse the lid and the seat with a hose so the hinge area is clear, then drop it back on.
The two best times are after fall leaf fall and just before your wettest season. If you have overhanging trees or sandy soil, add a mid-season check.
Keep the grass trimmed back around the rim. Turf will happily grow over the top and hold the lid shut, which is a quiet way for the whole system to stop working without you noticing until the lawn floods again.
Before a freeze, make sure the body is clear and the line drains fully. Standing water inside an emitter will ice up, and ice is what locks a lid down.
The short version
A buried drainage pipe needs a proper exit, and a pop up drainage emitter is the simplest way to give it one. This one fits 4 inch S and D hub fittings and 3 inch DWV pipe, so one part covers most residential yards. The spring-free dual-rod mechanism is the part worth paying attention to, because springs are what usually fail on emitters.
Check your pipe type before you order, set the top flush with the lawn, and clear it out twice a year. Do those three things and that soggy corner stops being a yearly argument with the weather.